Chicken in Orange juice and Tarragon

Lately, like most of us, I’ve been busy getting ready for the possibility that we may have to hunker down due to Covid-19. It is very stressful to try and think of everything we might need at home, plan my shopping trips to the stores in a way that I can get everything in one trip while trying to avoid everyone, and in addition, still go to work, keep my distance from my coworkers and smile and hang out as if all is normal. It’s exhausting!! When it came to cooking, that meant I didn’t want to spend time preparing anything special that required time or effort. I needed my time and my head clear for others matters. So this was the motivation behind this really surprisingly delicious dish.

This chicken recipe is so delicious and tastes so gourmet that I’m still surprised how easy it was to make it. I had chicken thighs waiting for me in the fridge and I knew I had to cook them before they go bad. I looked to see what I could through on the chicken quickly to give it some flavor. I had in the fridge half an onion and some tarragon leaves that started to look tired. I decided to chop the onion and the tarragon and add to that juice, pulp and zest from one orange. Put it all in a Ziploc bag with the chicken, marinated for half an hour, then roasted it in the oven. Piece of cake… and the result was amazing! I will surely make this dish again.

Ingredients:
2 ½ lb boneless chicken thighs
Juice from one orange with the pulp
Zest from one orange
1 medium red onion, diced
½ cup chopped tarragon
2 tsp salt
½ tsp black pepper

Preparation:
Place all ingredients in a gallon size Ziploc bag, close the bag and shake well until chicken is fully coated with the marinade. Keep refrigerated for 30-60 minutes.


Turn oven to 375F.
Place chicken thighs on a baking sheet and cover with the marinade.

Bake for 40 minutes.

Did I say delicious!!!?

Spiced Apple and Orange Bread Pudding

A few days ago, I discovered a forgotten raisin challah deep in my freezer. I looked at it and thought that it could be really good for bread pudding because of the raisins. I don’t usually make bread pudding at home. Not that I don’t like it, but it is not one of these dishes that come to mind when I have leftover bread. We usually use the leftover challah (if we even have anything left) to make French toast or grilled cheese sandwiches.

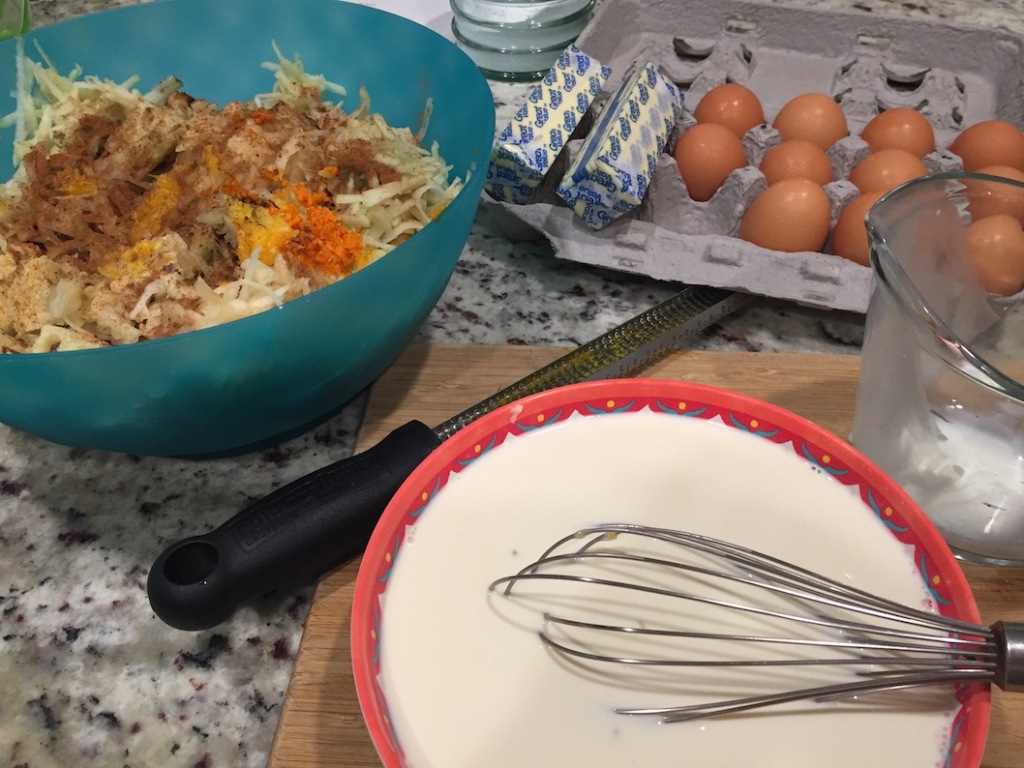
This time, it was destined to become bread pudding. I looked up some recipes for general guidance, and then I looked in my fridge to see what I wanted to add. I found an orange that had been there forever and needed to be redeemed and a couple of apples that I thought would add some nice autumnal flavor. I also added some spices, to make it interesting. Eventually, I collected more ingredients than I actually ended up using (the butter in the pics never made it in the pudding). I guess my recipe can be considered a leftover dish since I used, in addition to the old challah, an orange that had seen better times, and 3 egg whites that were left over from eggs used for another dish. However you look at it, I think I winged something that came out pretty good, and I hope you like it, too.

Ingredients:
1 raisin challah bread, cubed
2 apples, peeled and shredded
1 orange, zested and juiced
½ cup sugar
½ tsp ground cinnamon
½ tsp ground nutmeg
¼ tsp ground clove
¼ tsb ground cardamom
3 egg whites
2 eggs
1 cup milk
1 cup heavy cream
1 tbs butter, for greasing

Preparation:
In a large bowl, combine the cubed challah, shredded apples, zest from the orange, sugar, and spices.

In a separate bowl, mix the eggs with the milk, heavy cream, and orange juice (including the pulp).

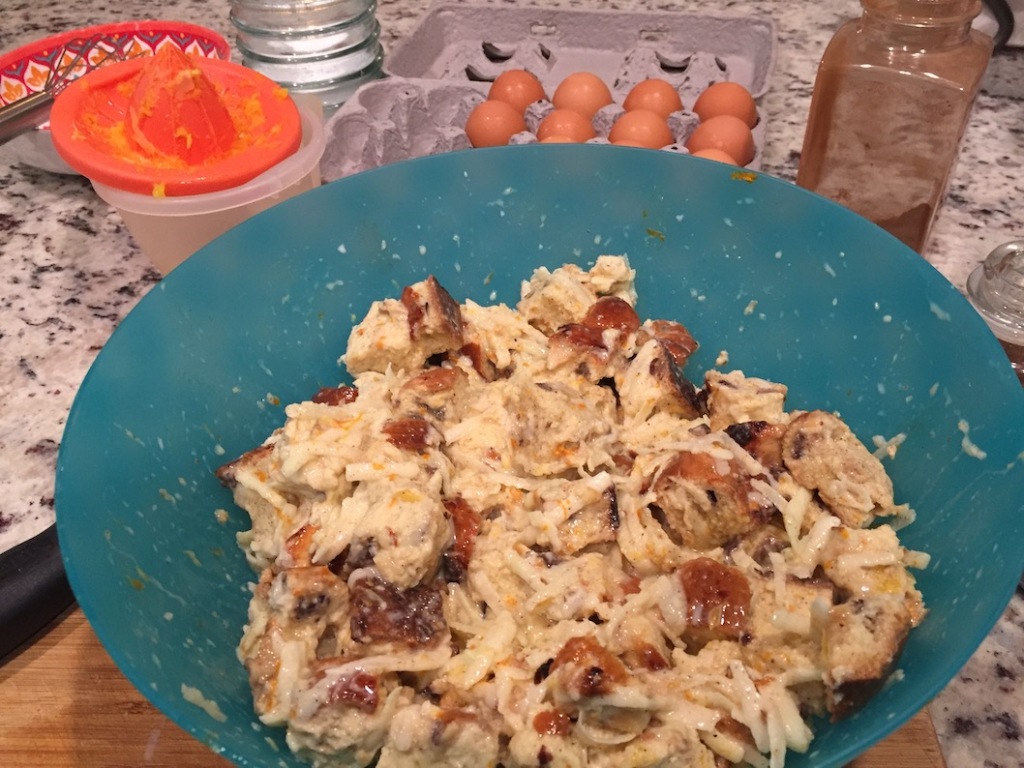
Pour the liquid mixture into the bowl with the dry ingredients and, using your hands, mix it all well but gently, to make sure the spices and the orange zest are spread evenly.

Generously grease a 13 x 9 ovenproof baking dish with butter, then pour the contents of the bowl into the baking dish, and spread evenly.

While the bread is soaking the liquids, turn on the oven to 350F.

When the oven is ready, put in the bread pudding and bake for 30 minutes.

Enjoy the smells that come out of the oven!!! And later on the flavors, too!

The pudding can be served warm or at room temperature.

Another Easy Dinner, Japanese Style

This time, it’s my daughter, Tamar, recycling some leftovers (without even meaning to…). She decided one evening that there is nothing to eat in the house, so she had to cook for herself. She took out some smoked salmon that we had in the fridge and sautéed it in a pan together with some chopped fresh ginger, some soy sauce, and a tiny bit of agave, for sweetness.

I was so impressed and proud of her ingenuity. And I’m glad that this is the example I set for her. Her food looked and smelled delicious! But this is all she had on her plate. I asked her if I could contribute to the meal, and she agreed. So I took some white rice from the fridge, and warmed it in the microwave. Then I chopped some seaweed paper and mixed it with the rice. It all went on the plate with the salmon. We completed the meal with some pickled ginger, on the side. It was really good!! Look for yourself…

jap

Beef Croquettes – Leftovers Version

Croquettes are usually made from scratch. To make it from scratch, check out my Basic Beef Croquettes recipe.

Today, however, I made them out of leftovers.

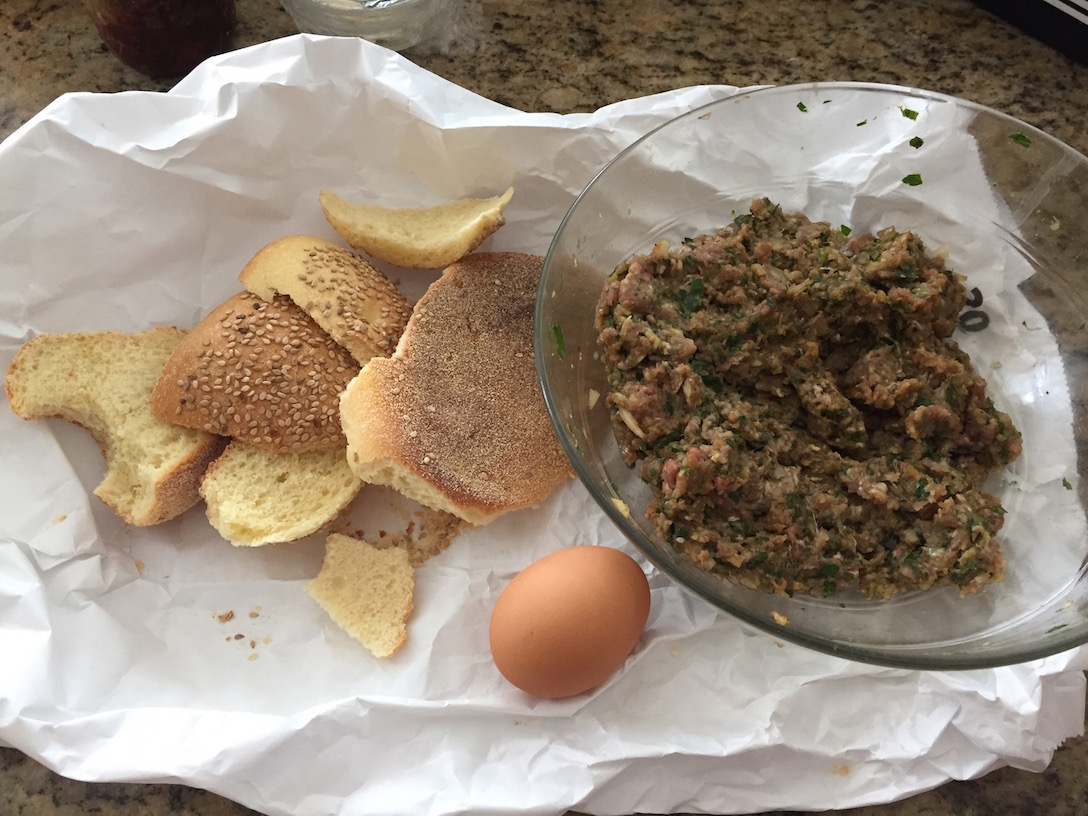
I had some leftover ground-meat filling that I made for Koube in Beet Soup, as well as the crust of some bread that I used for the Koube- Middle Eastern Dumplings.

Beef croquettes leftovers


Ingredients:

Eye balling the leftover meat mixture, it contained about:
½ lb ground beef
1 small diced onion
1 cup chopped parsley
½ teaspoon sweet paprika
¼ teaspoon baharat for koube
salt and pepper

Additional ingredients:
1 egg
About 1 cup homemade breadcrumb

Preparation:

The leftover meat mixture already had almost all of the ingredients needed to make either croquettes or a meatloaf, but the amount of mixture wasn’t enough for a decent size meatloaf, so I decided on croquettes. All I had to add was an egg and breadcrumbs. The breadcrumbs I figured I could make myself, using the leftover bread crust.

beef crockets breadcrumbs

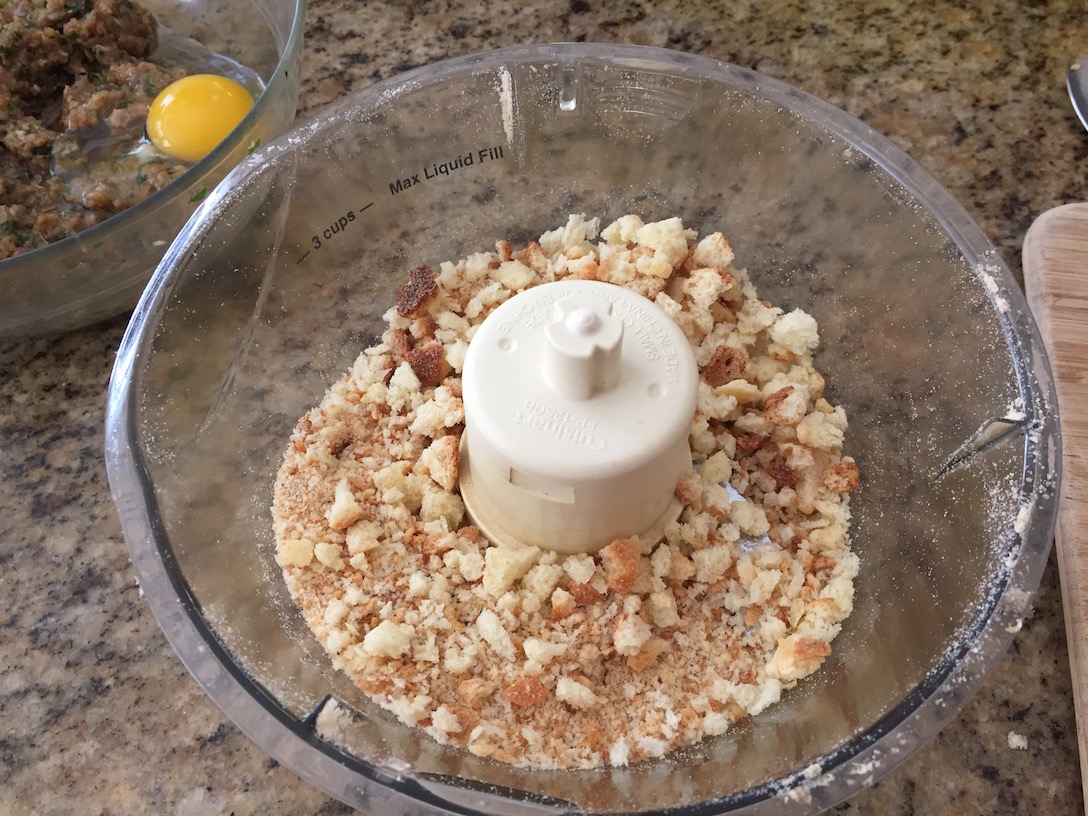
I placed the crust in a food processor and processed it into some kind of breadcrumbs. Some of the harder pieces refused to become tiny crumbs and no matter how long I processed them, they kept their shape and size. I decided to add them to my croquette mixture, anyway, and see what happens.

The next step, which I usually try to avoid doing inside the house, was frying the croquettes. This time, since I only had a small amount of meat, I made an exception, and turned on my indoor stove. I heated some oil in a frying pan (enough oil to cover the bottom of the pan), and while it was heating up, I shaped my croquettes.

You basically take a piece of the meat mixture, the size of a ping pong ball, shape it as a ball between your hands, then press it a little to flatten it and give it an oval shape.

Beef croquettes patties

When the oil turned hot, I placed the croquettes in the pan, and fried them on medium high heat, for about 1-2 minutes on each side, until they were nicely browned.

Beef croquettes frying

I removed them from the pan and placed them on a plate covered with paper towel to absorb extra oil.

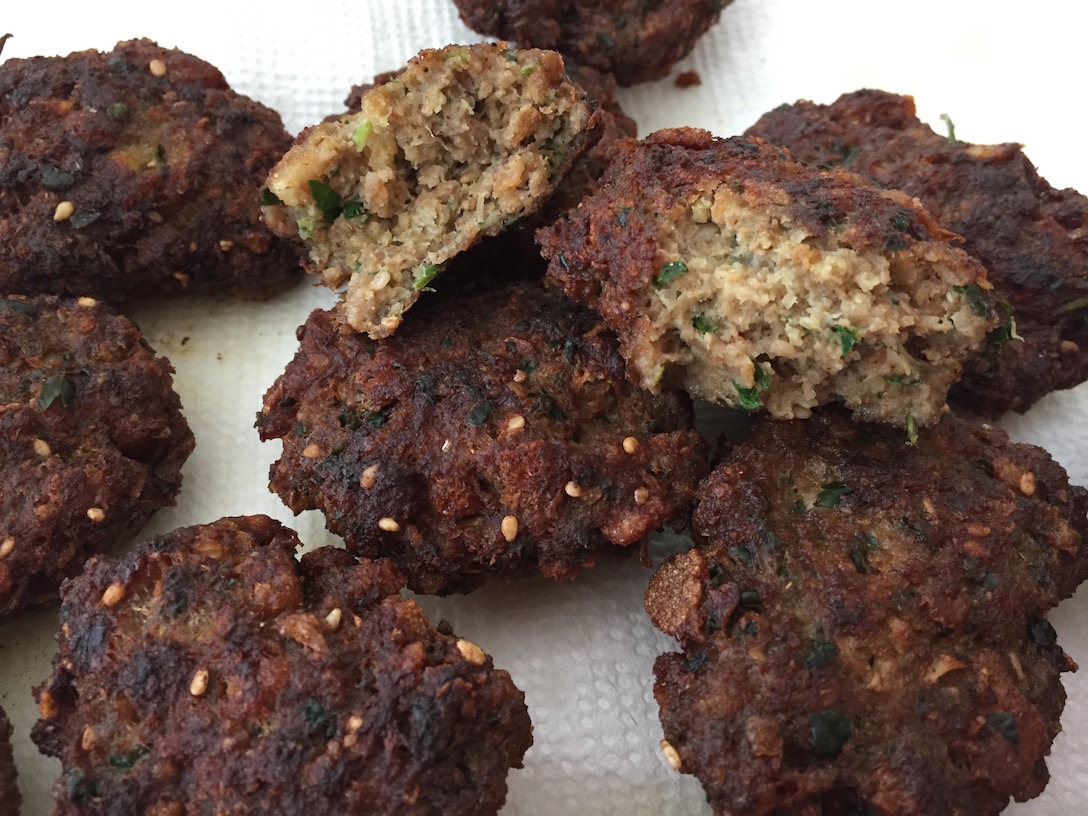
And boy, did they come out delicious!!! We finished them in less than half an hour.

Beef crockets closeup


Kompot

One of the fun, refreshing drinks I love to make in summertime is cold Kompot – Eastern European fruit soup, made from fresh and dried fruit.

Kompot is a great way to save over-ripe fruit from ending in the garbage. Almost any old fruit you have at home will do for kompot, except for maybe bananas and watermelon (I’m sure I forgot some other fruit, but I’ll let you find out for yourself).

The recipe here is composed of some old fruit that I found in my fridge this morning. As you can see, none of these fruit is in great shape, and of course, nobody feel like eating them anymore.

Kompot over-ripe fruit

Ingredients:
3 peaches
2 small mangos, peeled
1 cup blueberries
¼ cup sugar
½ cup craisins
1 tablespoon orange zest or dried orange peel

Preparation:
Rinse and cut the fruit into ½ inch cubes.
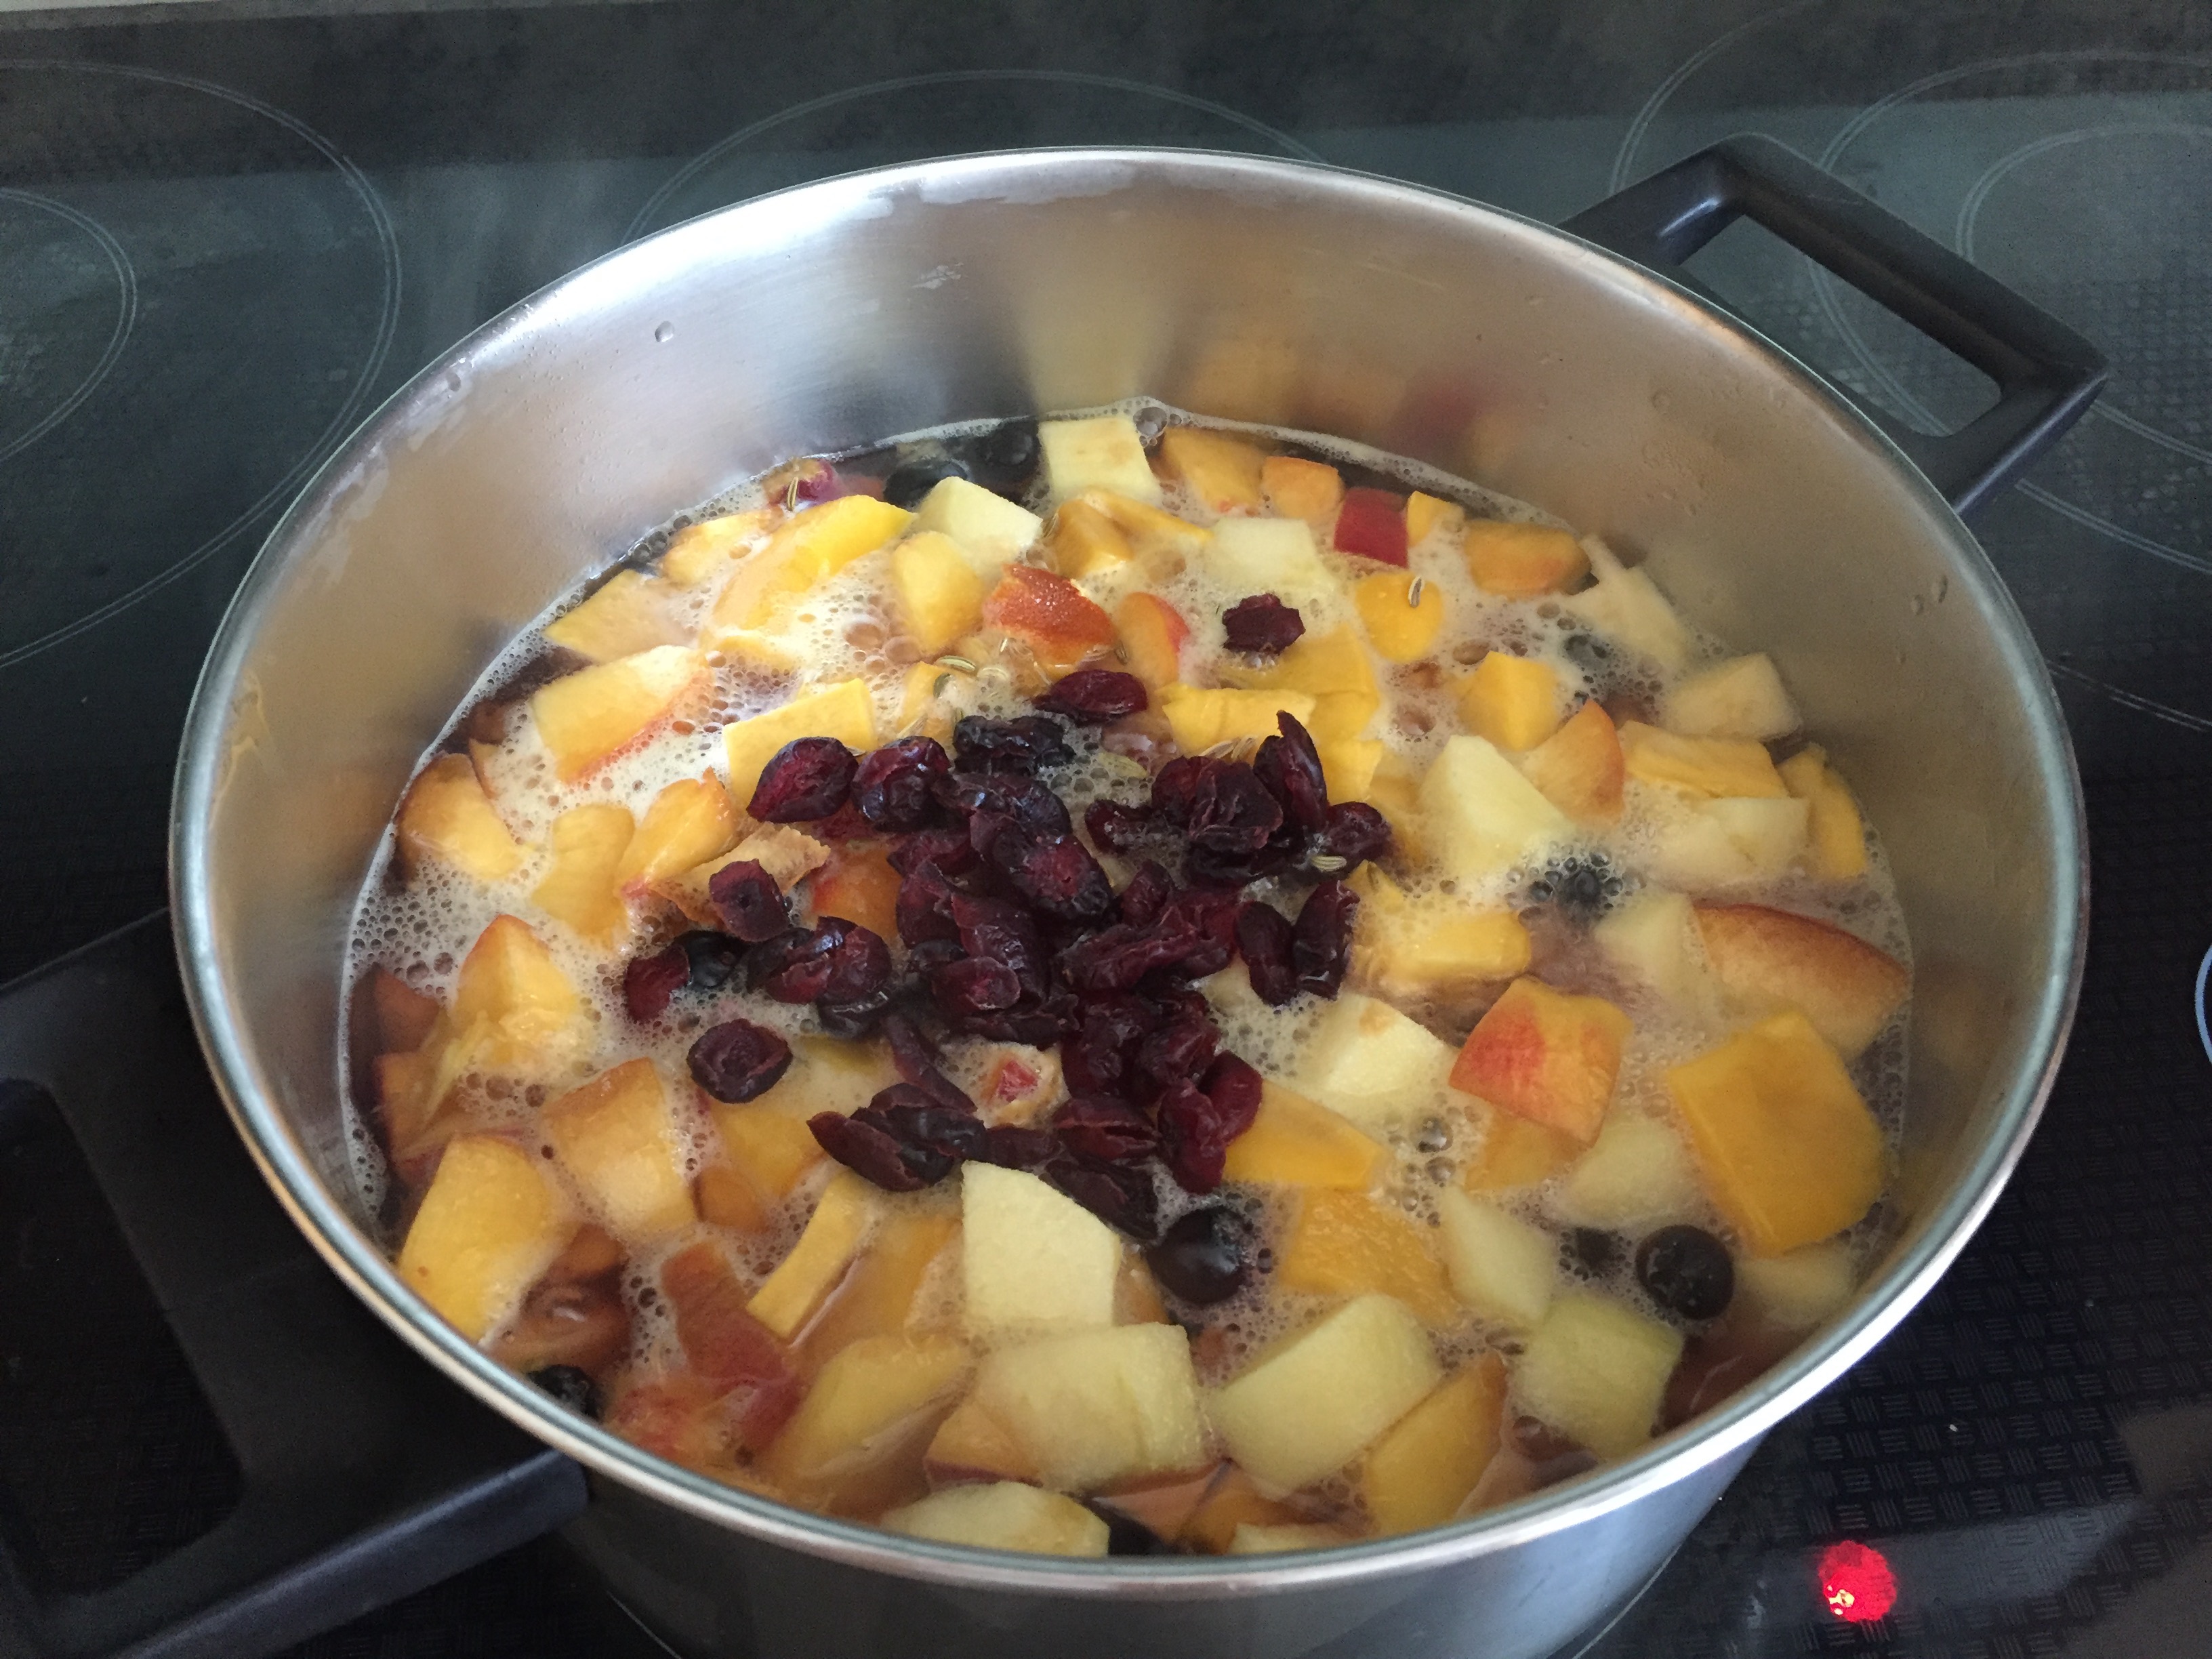
Place in a medium saucepan and add water to just cover the fruit. Add the sugar, craisins, and orange peel, and bring to a boil.

Kompot cooking

Reduce heat and simmer for 30 minutes, covered. Taste and adjust seasoning.
Transfer the soup to a pitcher and refrigerate.

I love my kompot cold off the fridge, but it can also be eaten/drank warm or at room temperature.


Easy Dinner Japanese Style


Easy Japonese dinner

My kids love Japanese food, especially sushi. My son, Amitai, had been asking for a long time that I make sushi for dinner, and I’ve kept putting it off because I couldn’t find the time to deal with sushi preparation.

Last week, though, I gave in, and decided to be nice and make sushi. I already had all the ingredients needed at home, except for fish, but since my son doesn’t eat fish anyway (funny that he loves sushi), I thought I would make an omelet instead. Then, I realized that I didn’t have time to prepare the rice. Cooking rice for sushi takes time because it needs to cool completely before being used to make the rolls.

It was already dinnertime, and this one hungry kid was staring at me, waiting for a miracle that will put Japanese food on the table. Oh, the pressure!!! And then, I had an idea. I had some leftover basmati white rice in the fridge. Not the sticky kind you would use for sushi. This rice would not work for a roll. But I could make sushi in a bowl!!

So here is what I did:

  1. Sliced some baby carrots (about 8-10) and boiled them in water for maybe 3 minutes, just until they were half soft. Then, I drained them.
  2. Chopped 1/3 of a large cucumber into small cubes.
  3. Spooned out ½ Hass Avocado and chopped it a little.
  4. Made an omelet from 2 eggs. When it was cool enough, I cut it into thin strips.
  5. Took 1 seaweed paper used for sushi rolls, and crumbled and tore it into small pieces.
  6. Nuked the leftover rice I had in the fridge (about 1 cup) for 1 minute.
  7. Mixed all of the above in a bowl with some soy sauce, and gave it a good stir.

I served it with some extra soy sauce on the side, just in case. We skipped the pickled ginger and the wasabi this time.

My son was soooo happy and devoured it all in minutes. I was happy, too. After all, I’m not such a bad Mom…