Best Dill Pickles

I grew up with these pickles. My grandma made them and so did my mother. With the years I’ve tried other versions of pickled cucumbers, but always came back to this recipe.

A crucial thing to know before attempting to pickle cucumbers is that you MUST have the right kind of cucumbers. Otherwise the cukes become soft and mushy when pickled. You want them to remain crunchy. Which are the right cucumbers? In the U.S. the most used pickling cucumbers are the Pickalot and National Pickling types. They are short and have a bumpy skin, and they can be found in many supermarkets and markets.  

I like to use the Persian/ Lebanese cucumbers. These are actually cucumbers that where developed in Kibbutz Beit Alpha in Israel in the 1950s and made a name all over the Middle East. They are small in size, with a firm texture and their skin is smooth and thin. They are sweeter in flavor. I always called them Israeli cucumbers because these are the only cucumbers I knew when living in Israel. Nowadays they are making a name in the U.S. and I see them more and more in different supermarkets. These cucumbers are great for pickling, but they are also great eaten raw. At home, we use only this kind for all our uses – salads, tzatziki, pickles, or just eating them as a snack with some salt sprinkled on them.

Once you’ve got your hands on the right cucumbers, it’s time to pickle…

Ingredients:
2 quart pickling jar
2lb thin Israeli cucumbers, rinsed
10 sprigs dill, leafy parts only
6 large garlic cloves peeled and smashed
6 bay leaves
½ tsp red pepper flakes (optional)
3 cups warm water
½ cup white vinegar
4 hipping tsp salt

Preparation:
In a small pot, combine water, vinegar and salt , and mix until salt is dissolved.

Boil water in a large pot. When water is boiling, submerge the open jar and sterilize it for one minute. Remove the jar from the water using tongs, pour all the water out and leave to cool.

Place 5 sprigs of dill, 3 bay leaves, and 3 smashed garlic cloves on the bottom of the jar.

Insert the cucumbers and stand them tightly, one next to the other. If you have room on top insert more cucumbers in any way that works. I sometimes cut the cucumbers in half to fit them in.

When the jar is almost full (leave space of about 1 inch), top it with the rest of the dill, smashed garlic, and bay leaves, and sprinkle the pepper flakes.

Pour the brine into the jar to cover all cucumbers.

Tightly close the jar and let sit in room temperature, preferably in the sun.

The pickles will be ready to eat after 3 days. You can keep the jar refrigerated or at room temperature, but not in the sun.

Only use a clean, unused utensil to remove pickles out of the jar, and avoid touching any of the contents with your hands, to avoid spoilage.

Turkish Salad

In Israel, this salad is known as Turkish salad and is sold in every supermarket under this name. I’m not sure that this salad actually originated in Turkey, since I haven’t found any supporting evidence for it when looking for recipes. However, I don’t know what else to call it, so I’ll just go with the name I know.

We make many different salads at home on a regular basis but Turkish salad wasn’t one of them. For no good reason, really. But we did eat it every time we dined in Middle Eastern grill restaurants in Israel. And my kids loved it. So I decided to look for the recipe and make it at home. As I’m sure you know, as with any recipe, there are so many different versions and I wasn’t sure which one to try. And then I met this Israeli woman who owns a bakery/grocery store in Boca Raton, where I buy really good pita bread. She also makes her own salads, one of them was this Turkish salad. When I asked her how she makes it, she gave me the recipe without hesitation, which I thought was very nice of her. And this is the recipe I use. It tasted pretty good to us, so we stuck with it. It is a salsa-like salad, and is a great accompaniment to main dishes or on sandwiches. We especially enjoy it with good pita bread or a fresh homemade challah. Hope you like it, too.

Ingredients:
4 tbs oil
3 red bell peppers, diced
2 cloves garlic, minced
1 can tomato paste
½ cup water
1 tsp cumin
½ tsp sweet paprika
½ tsp salt
½ tsp sugar
1 medium onion, diced
1 cup thinly chopped cilantro
½ cup thinly chopped parsley

Preparation:
In a medium saucepan, heat the oil and sauté the peppers for 3 minutes on medium high heat.

Add the garlic and keep sautéing for 2 more minutes.

Add the tomato paste, mix it in well and cook for 1 minute contently stirring it so that it doesn’t burn.

Add the water and the spices, lower the heat to medium and cook for 10 minutes.

Add the onion, cook for 2 more minute, then remove the pot from the heat.

Add the cilantro and parsley and mix well.

Pickled Asparagus

What do I do when I find asparagus at the supermarket that is so beautiful and fresh and so cheap? I buy a nice amount of it even though I have no idea what to do with so much asparagus. That’s what happened 2 weeks ago and I ended up with a nice amount in the fridge for a few days, and it actually made me a little anxious. Asparagus goes bad quickly and you have to use it fast. But how much roasted asparagus and asparagus soup can you make in one week? Then It dawned on me that I could pickle the asparagus just like my mother pickles cucumbers and it would probably be as crunchy and delicious. So I did it.

Ingredients
3lb fresh asparagus
6 dried bay leaves
10 cloves garlic, peeled
10 allspice seeds
5 dill sprigs
Salt
Water
2-quart jar

Preparation
Place 3 bay leaves, 5 allspice seeds, and 5 cloves garlic on the bottom of the jar.

Chop the ends of the asparagus spears to fit the height of the jar. Place them tightly in the jar spear side up. Push the dill sprigs in between the asparagus.

Top with the rest of garlic, bay leaves and allspice.

Make a saltwater solution in a bowl with the ratio of 1 teaspoon salt to 1 cup water. You’ll need about 3 cups water. Fill the pickle jar with saltwater until the water completely covers the asparagus. Close the jar and let stand in room temperature for a week.

Enjoy!

Hawaij – Yemeni Spice Mix

Hawaij is a Yemeni spice mix very central in Yemeni cuisine. It is used abundantly in Yemen, obviously, for soups, stews and other dishes, but is also used a lot in Israel where there is a large Jewish Yemenite community. In fact, Israelis took this spice mix and started using it to spice other non-Yemeni dishes, creating new and interesting flavors to old dishes.

To be more accurate, there are two different Hawaij mixes, one for soups, stews, etc., and one to spice coffee and sweets. We use both spice mixes on a regular basis. This is part of my Yemenite heritage. My Persian father fell in love with the mixes, so my mother made sure we used them at home in many dishes, including some of the Persian dishes she learned to cook from my paternal grandma. And as funny as it sounds, living so many years in America, every time my parents come visit, my mother brings with her (to my request) bags of these spice mixes that we love so much. We keep them in the freezer for freshness. When we run out, though, we make them ourselves…

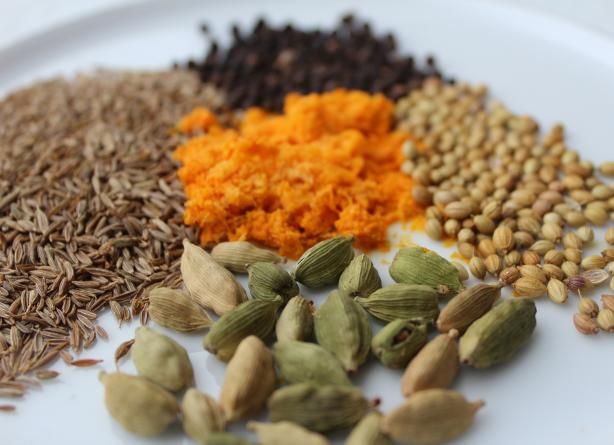
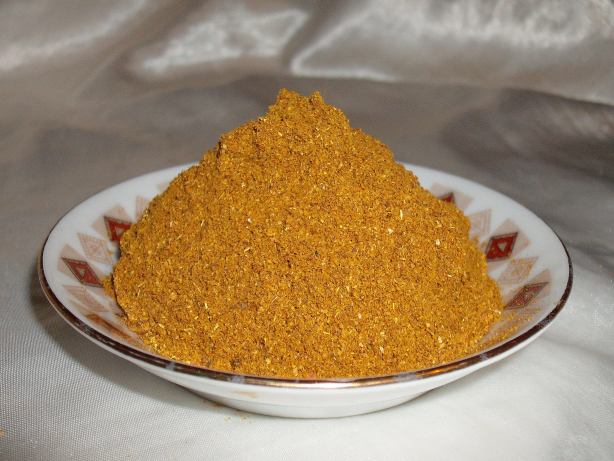
Both mixes are shown here. To get the freshest flavor, it is better to use whole spices, toast them in a hot pan for 2-3 minutes while stirring constantly to prevent burning. Then remove from the heat and chill. Place all spices (except the turmeric) in a coffee grinder or use a mortar and pestle to grind the seeds and mix in the turmeric.

The lazy version is to get all spices already ground and just mix them all together.

Hawaij for Soup Spice Mix
4 tbs whole cumin seeds (3 tbs ground)
1 ½ tbs coriander seeds (2 tsp ground)
4 tbs black peppercorns (1 tbs ground)
1 tbs green cardamom pods (1 tsp ground)
1 ½ tsp whole cloves (½ tsp ground)
3 ½ tbs ground turmeric
Ground fenugreek was added to the mix in some regions in Yemen, and is an interesting addition to the mix. If you choose to add it, add 1 tsp of ground fenugreek seeds and make sure you toast them first to remove their bitterness.

Use this hawaij to spice up meat, fish or vegetables grilled , baked or stews, or in the soups such as Yemenite Chicken Soup or Shefteh

Hawaij for Coffee Spice Mix
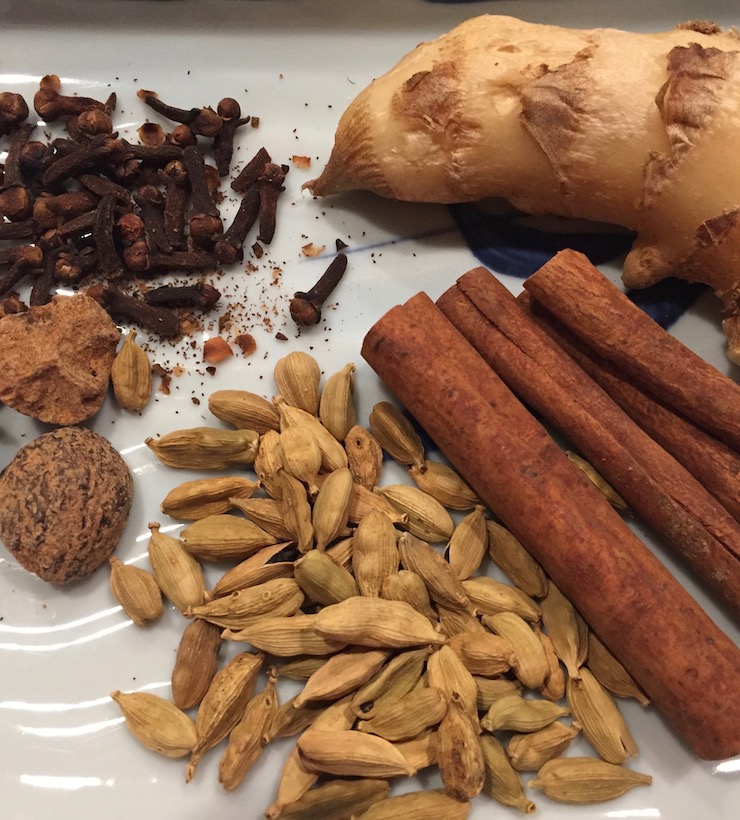
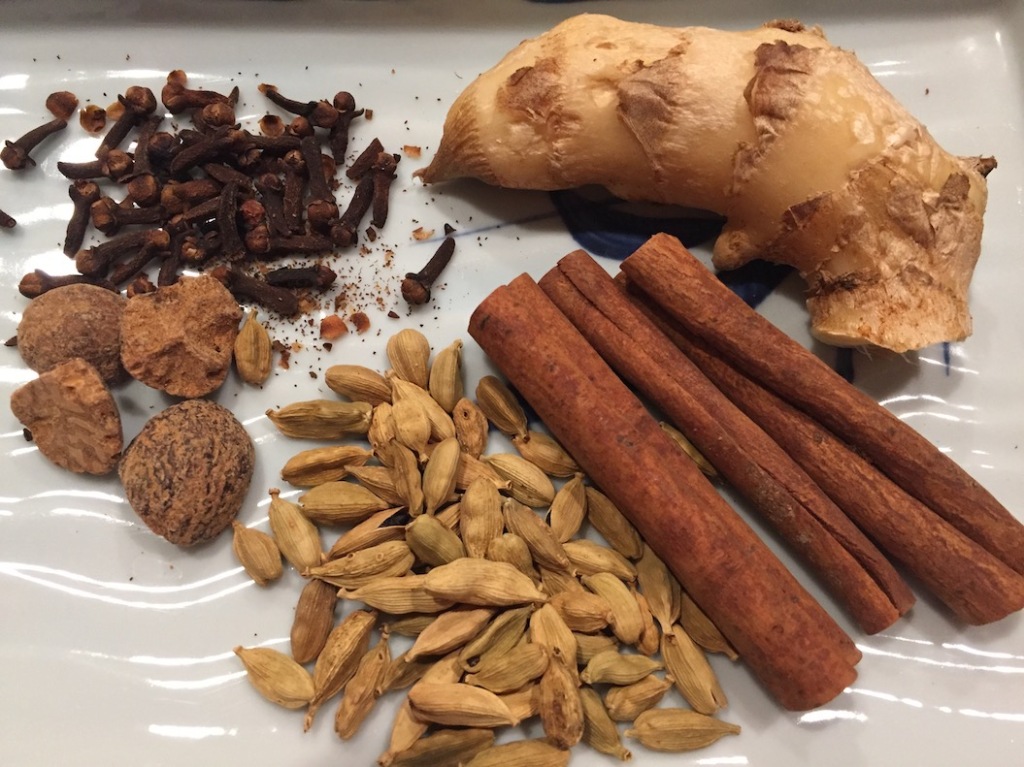
1 tbs green cardamom pods (1 tsp ground)
¾ tbs whole cloves (¼ tsp ground)
1 tsp ground cinnamon
2 tbs ground ginger
¼ tsp ground nutmeg

There is no need to pre-roast the spices for the coffee hawaij.

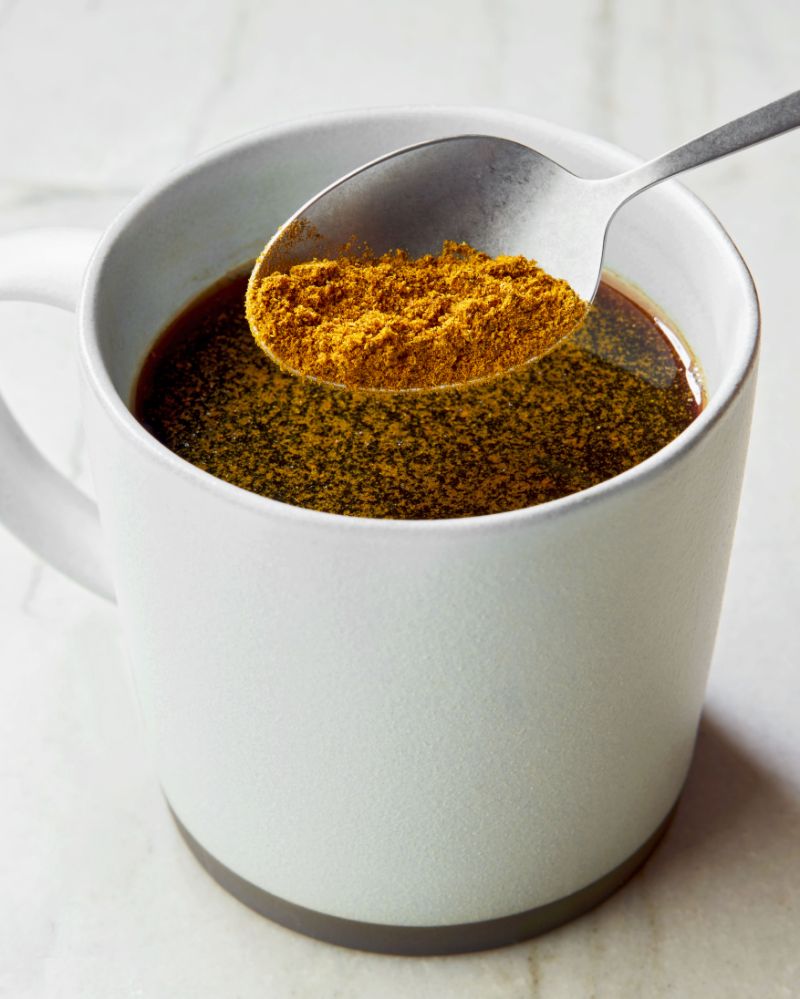
When using hawaij in coffee, use about 1/8 to a ¼ tsp for a small cup of coffee. You can also use it to spice tea to make chai. We love to use this coffee hawaij mix in cakes and cookies as well. And we add it to our Yemenite charosset on Passover.

Fenugreek

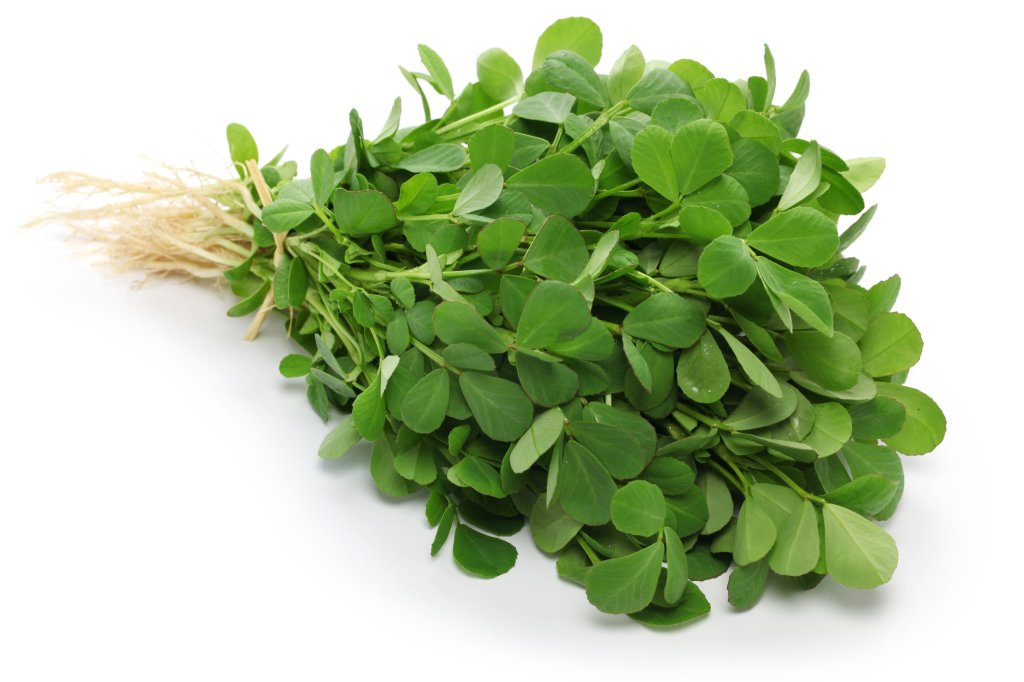
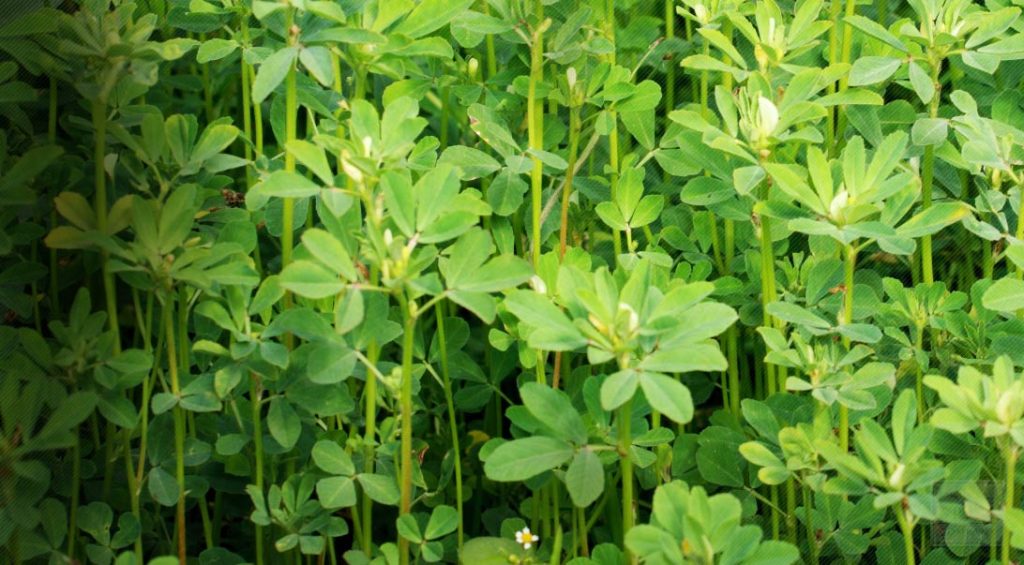
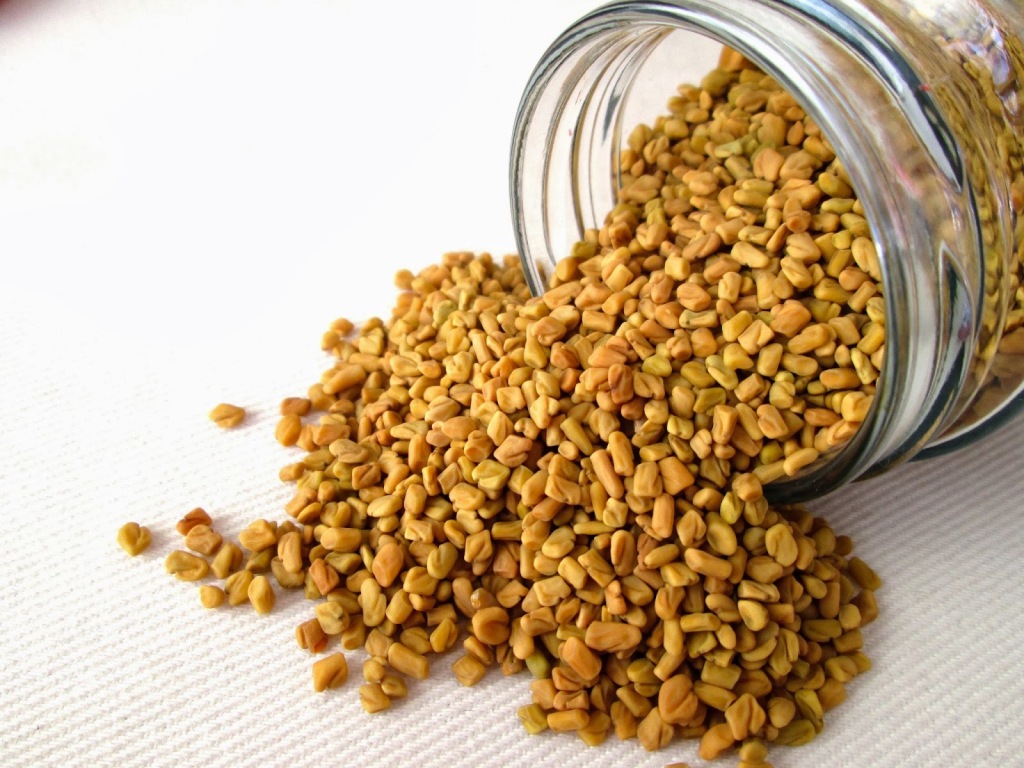
Fenugreek is a plant believed to be originated in the Middle East. It is used as a fresh or dried herb and also as a spice, using the seeds. Fenugreek seeds are rich in protein, dietary fiber, B vitamins, manganese, and iron. In their raw state, the seeds are very bitter and need to be roasted or soaked in water for an hour to remove most of the bitterness. The smell and the flavor of fenugreek seeds are pungent and dominant, and for most Westerners it is an acquired taste. You either love the flavor and the smell, or you can’t stand them. When eating large amount of fenugreek, the odor may be secreted in perspiration (I’m talking from personal experience), so make sure that you or people around you don’t mind the smell 🙂

Some people may be allergic to fenugreek, so please make sure you are not susceptible before attempting to experiment with this great plant.

The plant in all its forms is widely used in the Indian subcontinent. The leaves are used in curries and are also served as fresh herbs in salads. The seeds are used ground in spice mixes, pickles and chutneys.

In Persian cuisine, the leaves are called Shambalileh and this is probably the name you’ll find them under when looking for them in Middle Eastern stores. They are used in khoresh Sabzi, kukus (quiches), and fresh as part of sabzi (fresh greens served on the table).

Fenugreek seeds are used in Yemenite cuisine ground in spice mixes (Hawaij) and in Samnah – the Yemenite version of ghee. The seeds are also used to prepare a condiment eaten by Yemenite Jews called Hilbah (see recipe below) which is served with soups and stews. Hilbah is considered very healthy as it is believed to strengthen the heart and lower cholesterol and blood sugar.

Ethiopian cuisine also uses fenugreek, called Abesh. The seeds are incorporated in various dishes and are also used as a natural herbal medicine to treat diabetes.

Georgian cuisine is another cuisine that enjoys fenugreek in its dishes. They use a slightly different type of fenugreek, known as blue fenugreek.

I’m sure there may be other cultures using fenugreek in various degrees in their cuisines, and I apologize in advance to all of those I unknowingly omitted.

At home we use both the leaves (we can only find them in their dry form) when we cook Persian dishes, and we use the ground seeds in spice mixes and to make Hilbah which goes great with Yemenite soup.

Hilbah
Hilbah is a frothy condiment with a slightly slimy texture. When whisked with lemon and water, the seeds change their color from yellow to creamy white. Yemenite people eat Hilbah with soups, salads, and breads. Hilbah was brought to Israel by Yemenite Jews and is now widely eaten by other ethnic groups in Israel.

2 tbs ground fenugreek seeds (found in Indian and Middle Eastern stores)
¼ cups water
Juice from 1 lemon
Salt

Place the ground seeds in a bowl, cover with water and soak for at least an hour in the refrigerator. The seeds will soak most of the water and will double in size.

Discard of the water by tilting the bowl gently (don’t spill the jelly-like seeds themselves).

Add lemon juice, 2 tablespoons water and salt, and using a whisk or a mixer whisk the hilbah until it becomes thick and frothy. Add a little more water if necessary. The consistency should be fluffy but not watery.

It is best eaten when freshly made. You can keep leftovers in the fridge in a closed container. Hilbah tends to turn dense and lose its foam after a while. You can either add it to foods as is or add some lemon and water and re-whisk it to recreate the original texture.

Homemade Sauerkraut

Like any other fresh ingredient, cabbage that is left as is long enough, will start to rot, due to the bacteria that’s in it and that’s in the air. However, when pickled, the fermentation process that the cabbage goes through kills the bacteria that causes the cabbage to rot. And it creates an ideal environment for lactobacillus bacteria (also found in the cabbage) to flourish. Healthwise, that means that pickled cabbage (or any pickled veggie, for that matter) is rich in probiotics, naturally. Hence, it’s great for our health.

Another great by product of the fermentation is that it augments the amounts of the glutamic acid in the final product. Glutamic acid is an amino acid that is responsible for the umami flavor in foods.

Now that we understand the process let’s make it happen.

For a gallon size jar, you will need:

6.5lb shredded cabbage
3tbs koshering salt.

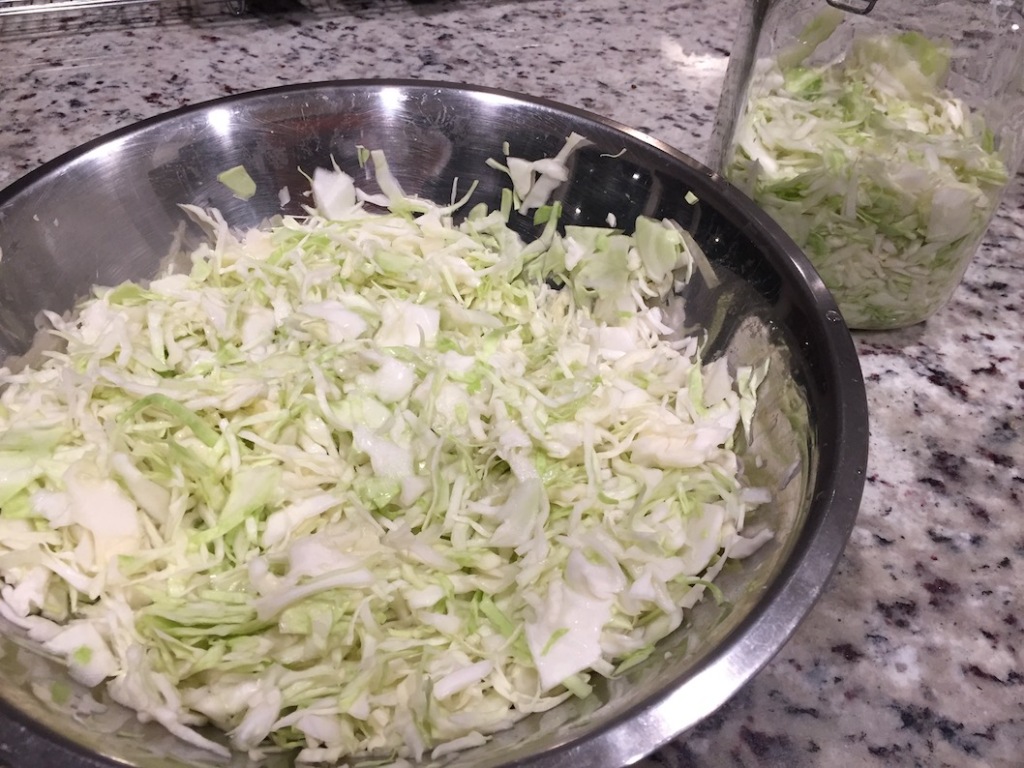
Place the shredded cabbage in a large bowl, sprinkle with the salt, and massage the cabbage to coat it well with salt. Let sit for 10-15 minutes. The cabbage wilts and extracts water, which is exactly what you want.

If you’d like to flavor your pickled cabbage, now would be the time. You may add chili pepper flakes, cumin seeds, caraway seeds, coriander seeds, fennel seeds – they all combine very well with pickled cabbage. I happen to like it ‘au naturel’.

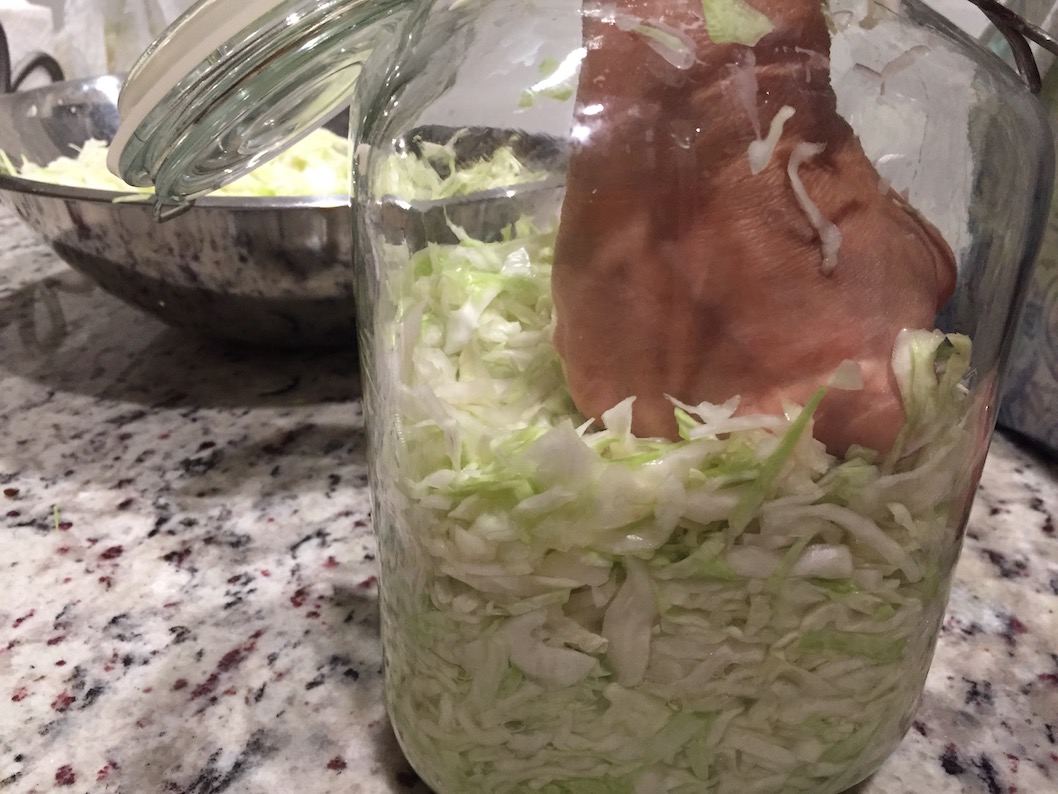
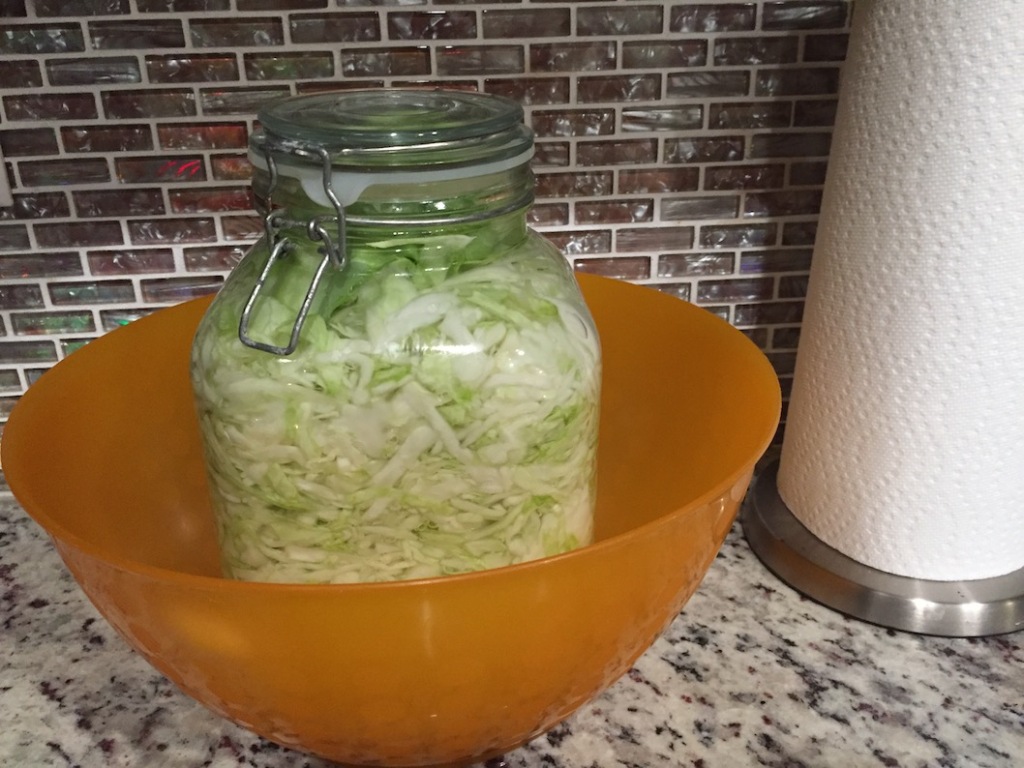
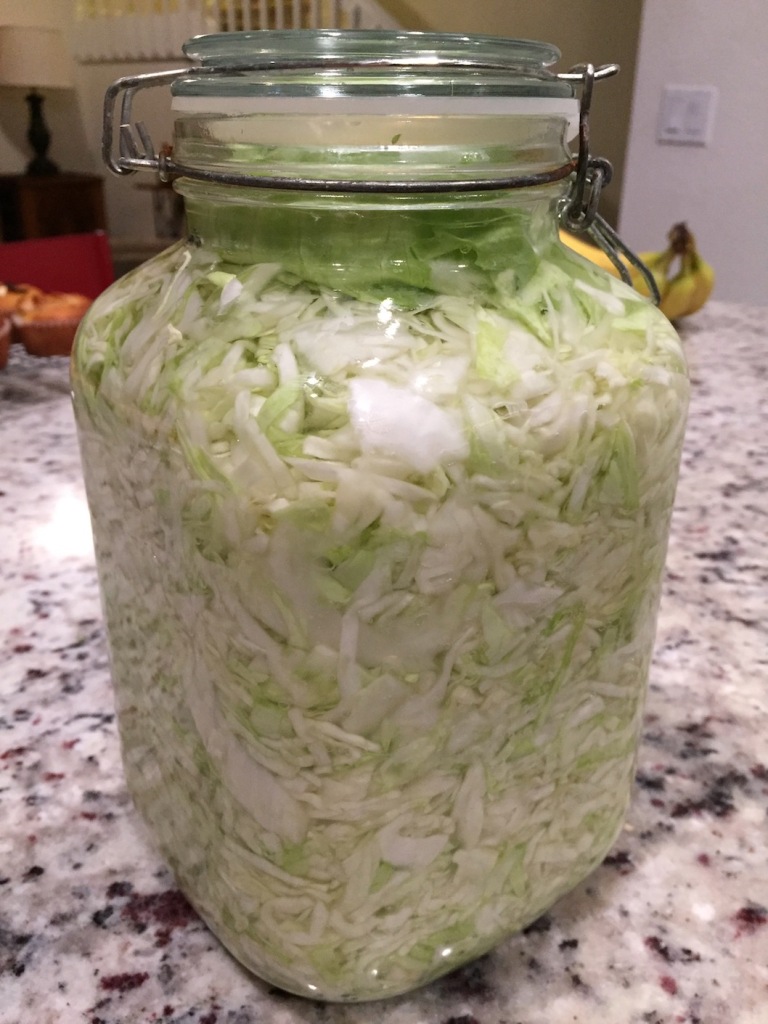
Sterilize a one-gallon jar with boiling water. Do not shake the jar or it might break. Discard of the water and fill the jar with the salted cabbage. Make sure, while filling, that you press down the cabbage in the jar as much as possible, using your fist. Add the salted water extracted from the cabbage.

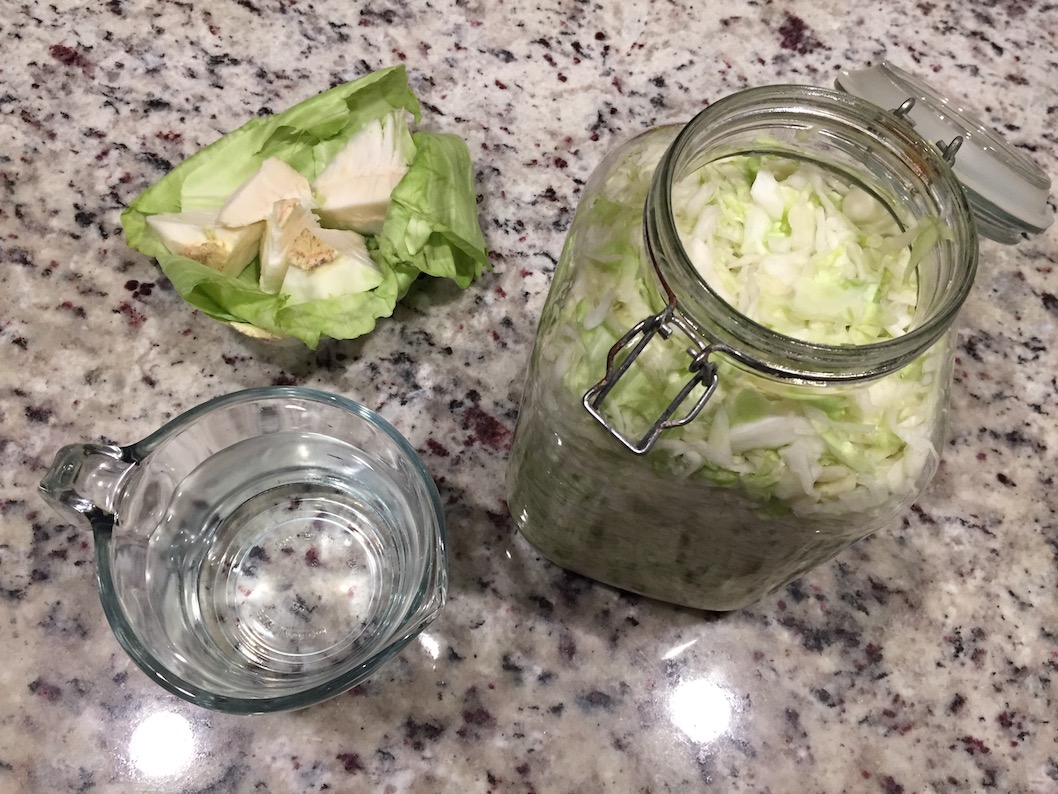
If the cabbage is not covered with water, that means that your cabbage was of the drier kind (like my cabbage), and you’ll need to add water. In this case, mix 1 quart of boiling water with 1 tbs salt, and set aside to cool. Once the water is at room temperature pour it into the jar, only to the point where it covers the cabbage.

Seal the jar, place it in a bowl or a tray with a rim, and keep in a cool place away from direct light.

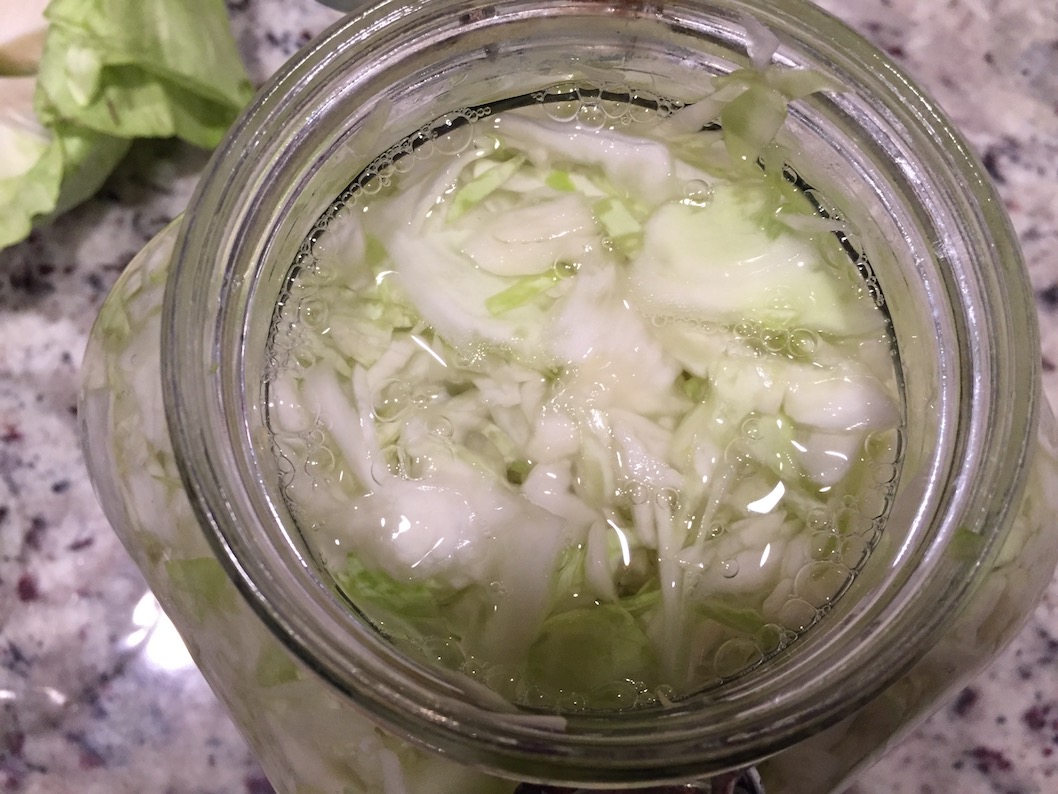
The fermentation process of the cabbage creates a lot of gas in the jar and sometimes pushes out the liquid, which is why you want to keep the jar in another container for a couple of days. Also, to prevent the jar from exploding, you need to open it for one second, once a day, to let the built-up gas out. After 3-4 days you don’t need to worry about it anymore.

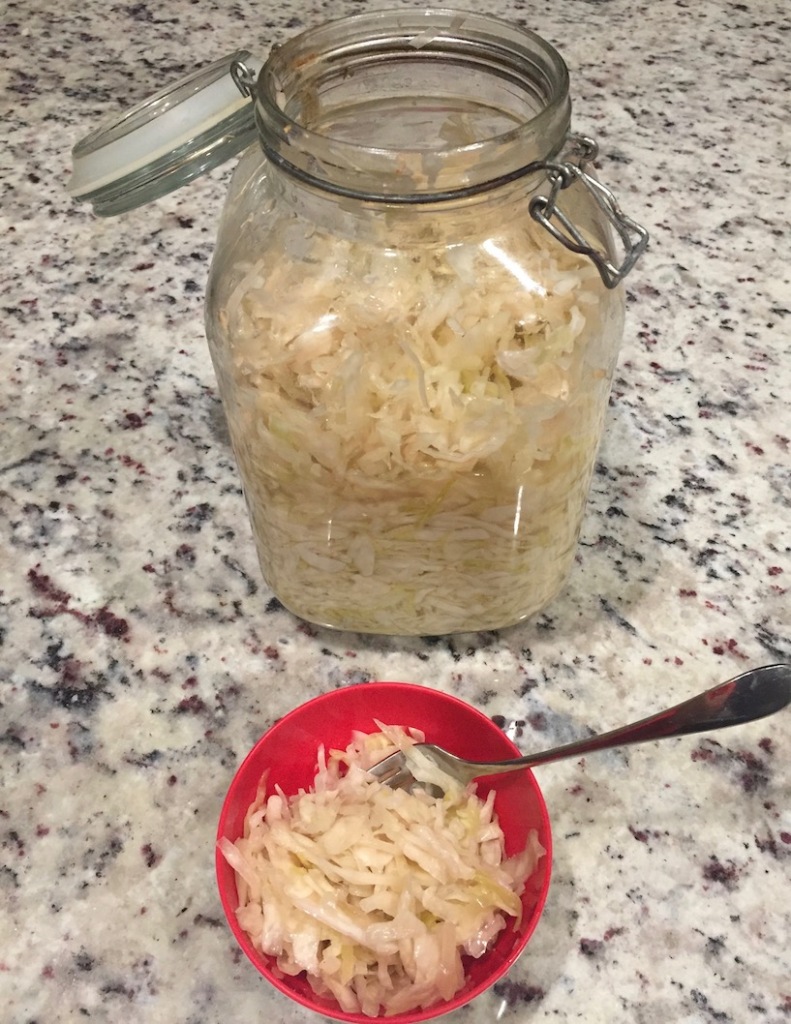
The cabbage takes 2 weeks to pickle but is at its best after 3-4 weeks. In my case, it took 3 weeks before the cabbage was good to eat. At 5 weeks it was even better and still had a crunch to it. And at 3 months it turned totally wilted and soft, and resembled the sauerkraut you buy at the store.

So be patient. It’s worth it! And when you end up with the best sauerkraut ever, I’d love to hear about it.