Vegan “Feta Cheese”

I was very skeptical about vegan cheeses that try to mimic real cheese. I’ve tried a few of them and wasn’t at all impressed, to the point where I decided it wasn’t worth the effort looking for substitutes. I just needed to learn to live without cheese. It was all good until I came across this “feta cheese” recipe in an Israeli vegan blog. Feta cheese was one the things I most regretted not eating anymore since becoming vegan. I LOVE feta cheese. So when I came across this recipe I had to give it a try. And I was pleasantly surprised. It is delicious!! Is it feta cheese? No. But it tastes and feels like cheese and it is salty and tangy enough to satisfy my craving for feta cheese.

So without further ado, here is the recipe. If you are a vegan who happens to love feta cheese, this may hit the spot.

Ingredients:
1 ½ cups (145g) almond flour
45g raw cashew nuts soaked in water for 5 hours
¼ cup lemon juice
½ cup water
3 tbs extra virgin olive oil
2 cloves garlic
1 ¼ tsp salt

Preparation:
Place all the ingredients in a food processor and process to a smooth puree.

Place a colander in a slightly bigger bowl and drape a cheese cloth over the colander. Pour the puree into the cheese cloth. Tie the corners of the cheese cloth together to make a sack, and suspend over a bowl for 12 hours or overnight in the fridge.

Preheat an oven to 350F.

Grease a baking dish with a tiny bit of oil, then untie the cheese cloth and gently place the ball of cheese in the baking dish, face down.

Bake for about 40 minutes, until the cheese becomes golden. Remove from the oven and let cool completely.

Keep refrigerated up to 3 weeks, if it lasts that long…

We like to use it as a spread or crumble it over a salad or any other dish.

It is really surprisingly delicious!

Turkish Salad

In Israel, this salad is known as Turkish salad and is sold in every supermarket under this name. I’m not sure that this salad actually originated in Turkey, since I haven’t found any supporting evidence for it when looking for recipes. However, I don’t know what else to call it, so I’ll just go with the name I know.

We make many different salads at home on a regular basis but Turkish salad wasn’t one of them. For no good reason, really. But we did eat it every time we dined in Middle Eastern grill restaurants in Israel. And my kids loved it. So I decided to look for the recipe and make it at home. As I’m sure you know, as with any recipe, there are so many different versions and I wasn’t sure which one to try. And then I met this Israeli woman who owns a bakery/grocery store in Boca Raton, where I buy really good pita bread. She also makes her own salads, one of them was this Turkish salad. When I asked her how she makes it, she gave me the recipe without hesitation, which I thought was very nice of her. And this is the recipe I use. It tasted pretty good to us, so we stuck with it. It is a salsa-like salad, and is a great accompaniment to main dishes or on sandwiches. We especially enjoy it with good pita bread or a fresh homemade challah. Hope you like it, too.

Ingredients:
4 tbs oil
3 red bell peppers, diced
2 cloves garlic, minced
1 can tomato paste
½ cup water
1 tsp cumin
½ tsp sweet paprika
½ tsp salt
½ tsp sugar
1 medium onion, diced
1 cup thinly chopped cilantro
½ cup thinly chopped parsley

Preparation:
In a medium saucepan, heat the oil and sauté the peppers for 3 minutes on medium high heat.

Add the garlic and keep sautéing for 2 more minutes.

Add the tomato paste, mix it in well and cook for 1 minute contently stirring it so that it doesn’t burn.

Add the water and the spices, lower the heat to medium and cook for 10 minutes.

Add the onion, cook for 2 more minute, then remove the pot from the heat.

Add the cilantro and parsley and mix well.

5 Minute Homemade Hummus

I have to start by saying that the day I wrote this post, after I took the pictures to add to it, I came across a different blog with exactly the same recipe with the same title, referring to the same chef I do in my post. It was unreal. So bizzare! I was a little upset and even felt defeated, as if I was competing against someone and they beat me. And I kept my post unpublished. But after a few weeks I’ve come to change my mind and decided to post it anyway. After all, not everyone visits every blog, and I’m sure that there are people who can enjoy this recipe, who wouldn’t come across it otherwise.

We make hummus at home frequently, and eat it in sandwiches and as a spread served with our Israeli dinner which is usually composed of vegetable salad, some kind of egg, homemade bread, and some spreads like canned tuna or sardines, cheese, avocado, tahini, or hummus. There are many other dinner options as well, and I’ll write more about them in a different post.

In the home I grew up in, we never bought ready-made hummus. We always made it at home. It was good and we liked it and this is how I made my hummus in my own house, until I came across a recipe by chef Michael Solomonov of Zahav Restaurant in Philadelphia. I fell in love. And this has been our hummus recipe for over 10 years.

The only problem with the recipe, though, is that you have to plan ahead of time. You have to soak the chickpeas in water overnight. And then you have to cook them for about 40 minutes with garlic cloves. After that the recipe is a breeze. But sometimes, we want to have the hummus made at the moment we think about it, so we can eat it right away. For that to happen we made a few small changes to Solomonov’s recipe. And we love it.

1 14 oz can cooked chickpeas
1/4 cup liquid from the hummus can
1/4 cup raw tahini paste
1/4 cup olive oil
1/4 cup fresh lemon juice
1 clove garlic, peeled
1/2 tsp ground cumin
Salt to taste

Drain the chickpeas, and keep the liquid on the side. Place the drained chickpeas in a food processor equipped with the blade feature.

Add the rest of the ingredients to the food processor and process until the mixture becomes a cohesive paste. You can adjust the smoothness to your liking. The longer you process, the smoother the hummus becomes.

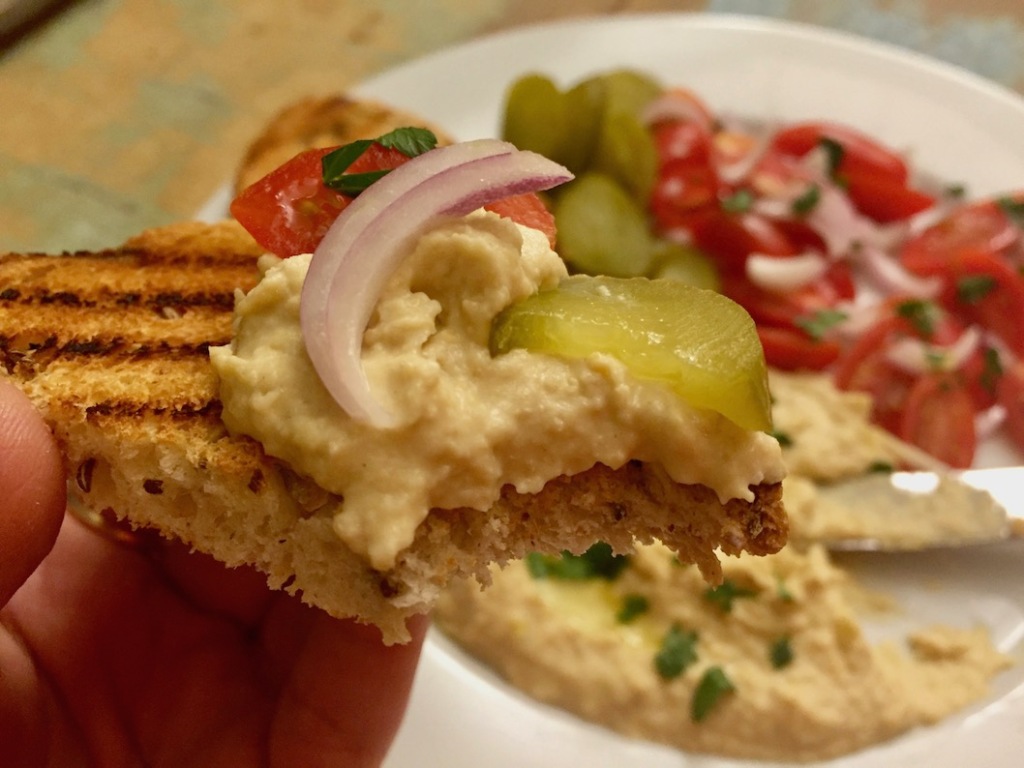
That’s it. 5 minutes work and you end up with a delicious hummus. Serve it fresh with some good bread or as a condiment. It can also be refrigerated up to a week.


Romesco Sauce

Native to the Catalonia region in Spain, romesco sauce was one of my pleasant surprises when visiting Barcelona a few months ago. I have heard the name before but never tasted the sauce. So it required a trip to Spain to get familiarized with this delicious and very unique sauce. Doron, my husband, and I first had it in a neighborhood café in one of the less touristy neighborhoods in Barcelona. We ordered all kinds of tapas and one of them was the famous patatas bravas, a Spanish version of French fries served with romesco sauce. We enjoyed all the other tapas immensely , but the romesco sauce was the highlight of our meal. We were blown away by the complexity of the flavors in the sauce and how much it complemented the potatoes. Of course, I had to get the recipe (I didn’t even know the name of the sauce), but unfortunately, the waiter was reluctant to share it with us. Which only made me more determined to find the recipe for this amazing sauce. We had patatas bravas with romesco sauce in other restaurants while in Barcelona (where I got introduced to the name of the sauce), but none of them was as good as the sauce we had at that small neighborhood café.

So I resorted to looking online, and I found a recipe that I really like. The recipe below is my adaptation of that recipe, and is a great version of romesco, if I do say so myself. It is supposedly close to the old, original recipe. Regrettably though, it does not exactly replicate the flavor of the divine romesco sauce we had in that neighborhood café.

3 red bell peppers
5-6 garlic cloves unpeeled
3 Roma tomatoes or 20 cherry tomatoes
1 slice of good bread
¼ cup slivered almonds, toasted
1 tsp smoked paprika
1 tsp ground anise seeds
½ tsp hot paprika or ¼ tsp cayenne pepper
1 tsp salt
¼ tsp black pepper
3 tsp sherry vinegar (red or white wine vinegar are an option too)
1/3 cup extra virgin olive oil

Preheat your oven to 375F.

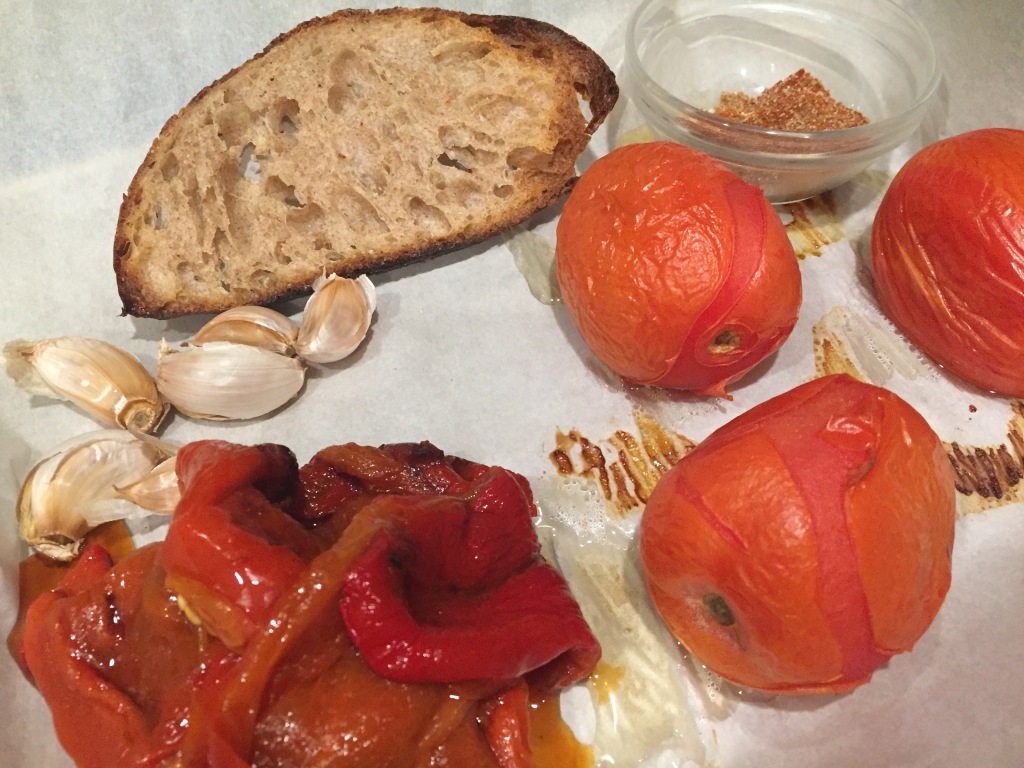
Place the peppers, tomatoes and garlic on a baking sheet lined with parchment paper and bake for 15-20 minutes until the tomatoes are well roasted and the garlic is soft. Remove them from the oven and set aside. Continue roasting the peppers for 20 more minutes, turning them halfway, until soft or until the skin is charred.

Remove from the oven and place in a covered pot. Set aside to cool.

Turn off the oven and place the slice of bread in for 5 minutes, until toasted. Remove from the oven and break into pieces.

When the veggies are cold, peel their skin off and discard of the pepper seeds. Place the vegetables in a food processor. Add half of the toasted bread, the almonds, spices, olive oil and vinegar and blend into a smooth sauce. If the sauce is too runny, add the rest of the toasted bread and continue blending.

Transfer to a jar and keep refrigerated. Most recipes I followed claimed the sauce would last up to a week. In my fridge it lasted for two weeks and was still delicious.

Unorthodox Homemade Preserves Making

My way of making jelly, or more accurately, preserves, does not entirely follow conventional jelly making, as you may find online or in books. I follow my grandmother and my mother’s methods. So far, it worked out for me. So what do I do?

Ingredients: with most fruit I only use two ingredients: fruit and sugar. No pectin, no citric acid and no other flavorings. Sometimes I add 2-3 tablespoons of lemon juice if the fruit in question lacks tartness.
There are some preserves though, such as quince, rose petals, eggplant and other out of the ordinary jellies and chutneys, that require additional ingredients like water or spices. But for most fruits, adding only sugar does the work.

Quantities:  I do not use exact measurements. I cook by eye. Generally, my fruit to sugar ratio is about 3:1, sometimes 4:1, depends on the sweetness of the fruit. I love my preserves not too sweet and with a hint of tartness.

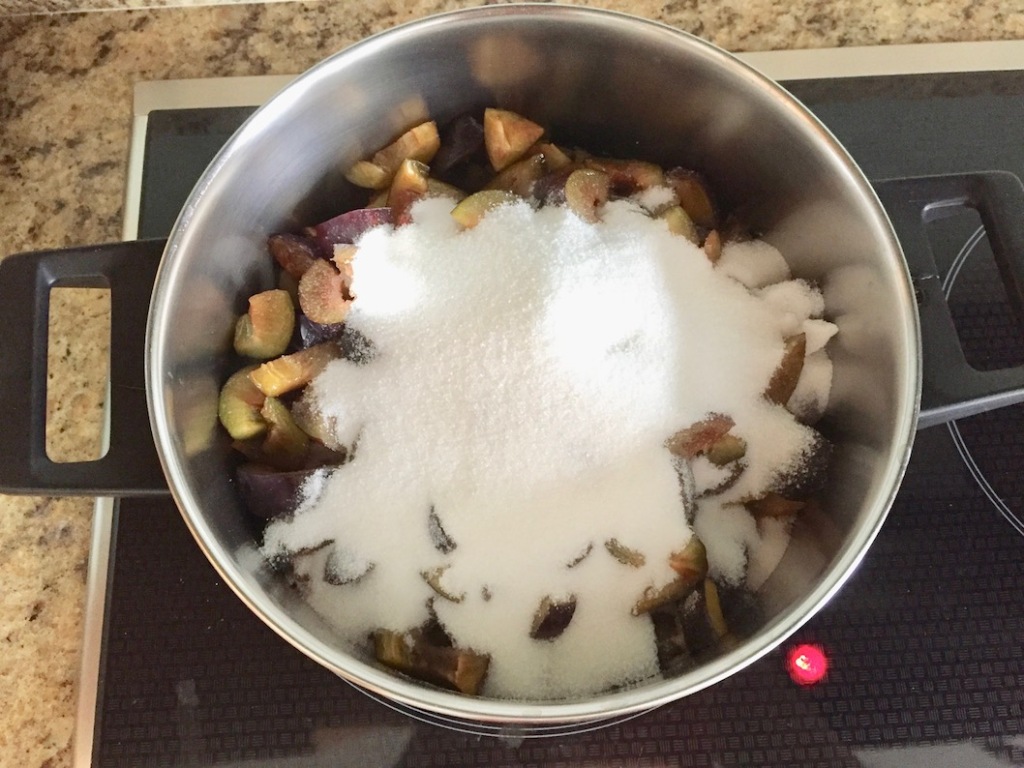
Cooking: I cut the fruit into 1 inch pieces, place in the pot, and cook on medium-low heat. I pour the sugar on top of the fruit without mixing it in. The fruit needs to cook slightly and start extracting some juice before sugar gets to the bottom of the pot. If you have sugar on the bottom while the bottom is still dry, you risk burning the sugar. Once there is enough liquid in the pot (about 1 inch), I stir in the sugar, cook uncovered and stir occasionally. To check for doneness, I spoon out a little bit of jelly, let it cool for one minute and see if it holds its shape. I actually don’t like my jelly on the thick side, but rather only mildly thick. This way, I can also use it to accompany desserts such as cake or ice cream.

Canning: another significant rule I do not follow is the sterilization of the jars before filling them with the preserves. I just never found it necessary. I pour the preserves into clean jars as soon as I turn off the heat, while the preserves are still very hot, and I close the jars with the lid immediately. The heat creates pressure in the jar and seals it. I’ve had sealed jars of preserves in my pantry for months, and they turned out perfectly fine when they were eventually opened. This method is not scientifically proven, but it works for me. You are welcome to try it and let me know how it turned out.

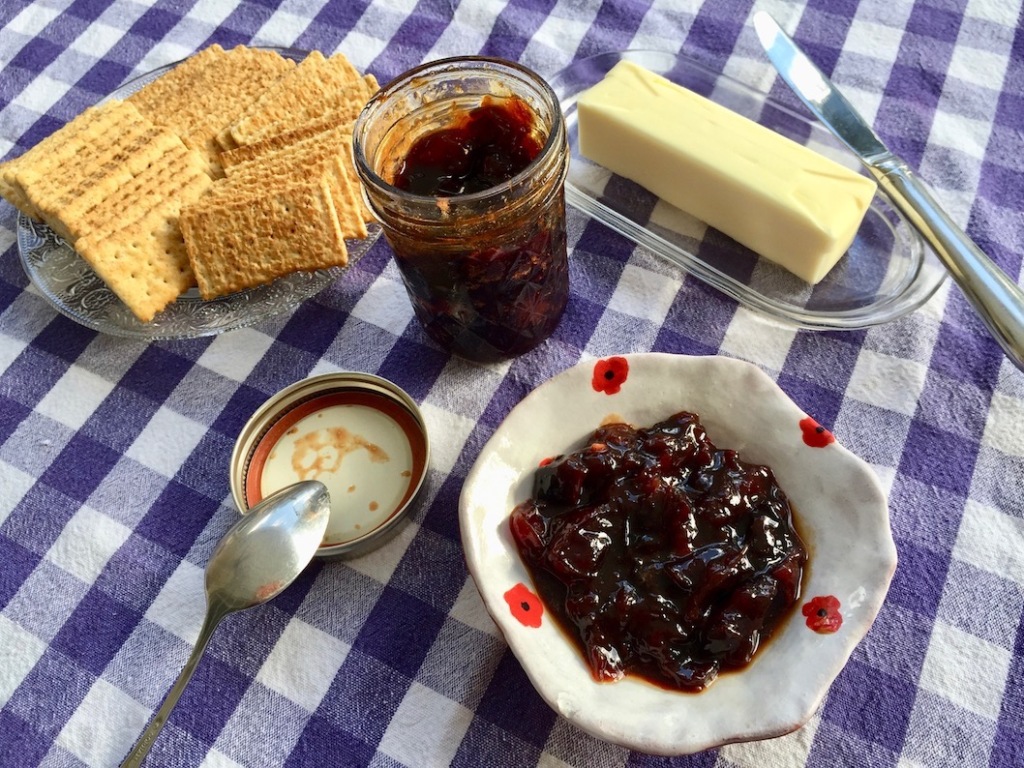
Here are pics of my Italian plum preserves. This is probably one of my all time favorite preserves, and since the season for these plums is so short, I buy a large amount as soon as I spot them, and use them to make these amazing preserves which I store in the pantry, as well as a plum crostata that never lasts more than two days in my house.

Baba Ganoush

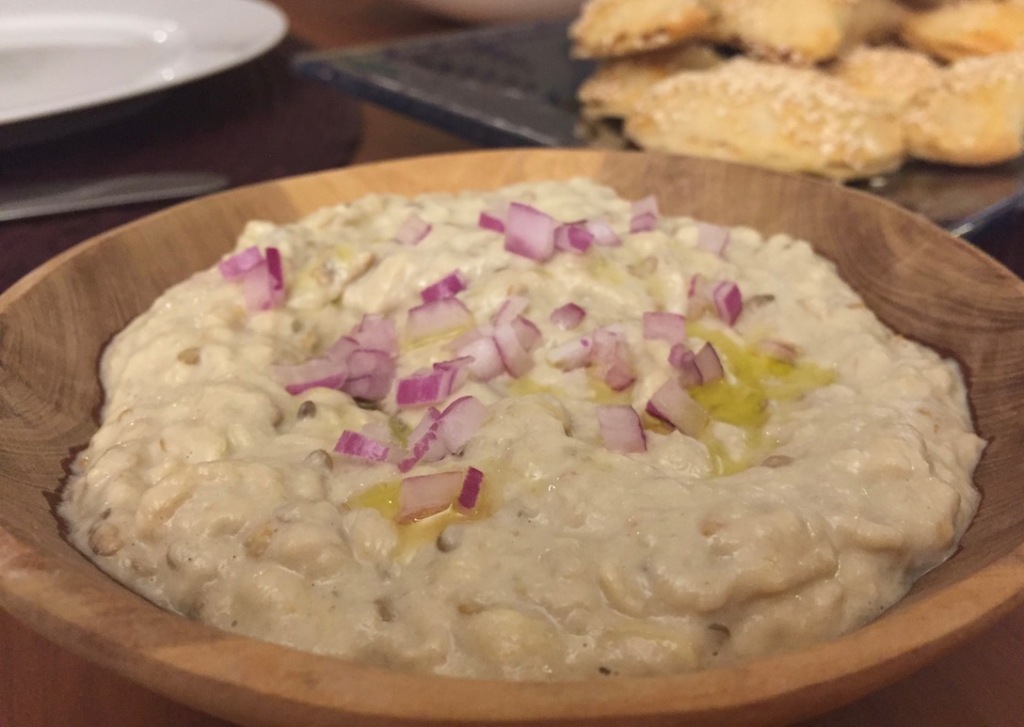
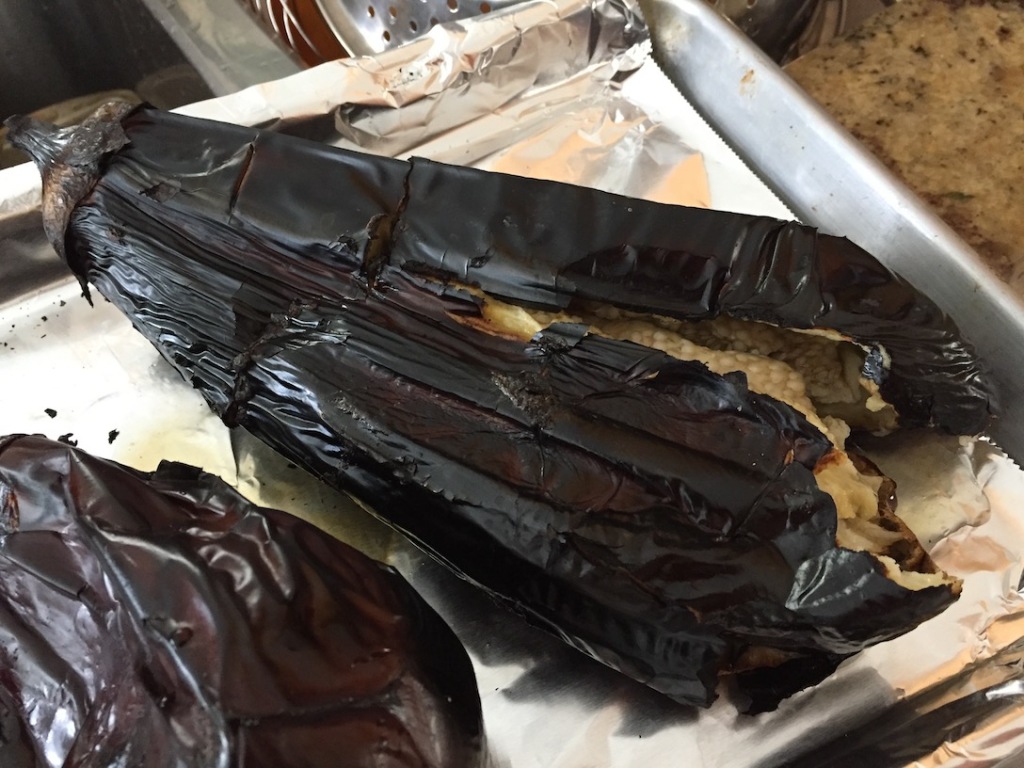
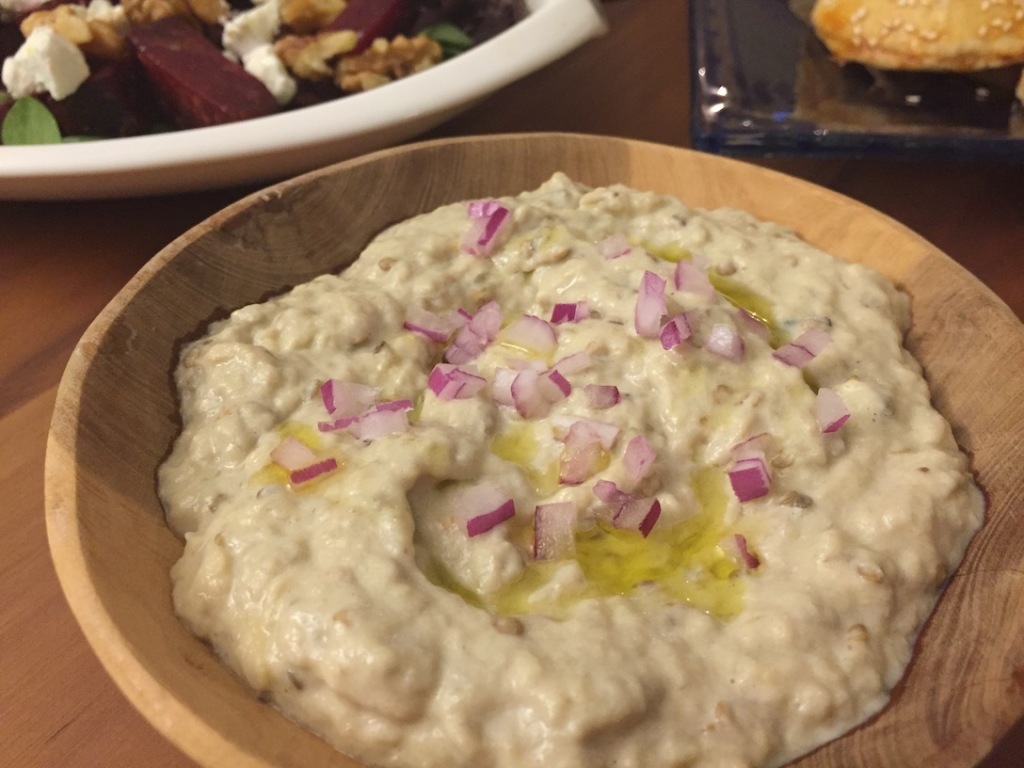
Baba Ganoush is a Middle Eastern spread/appetizer that has made fame in the U.S, following its better known relative, the hummus. Baba Ganoush is a spread made from pureed roasted eggplant and tahini paste. In Baba Ganoush, the eggplant is literally burned on the grill, which gives this dish its special smoky, burned, distinctive flavor. You may also grill the eggplant in the oven, but burning them on the grill gives them the burned aroma from the fire, which makes a big difference.

2 medium grilled eggplants
½ cup raw tahini paste
1 clove garlic, crushed
¼ cup lemon juice
¼ – ½ cup water
salt

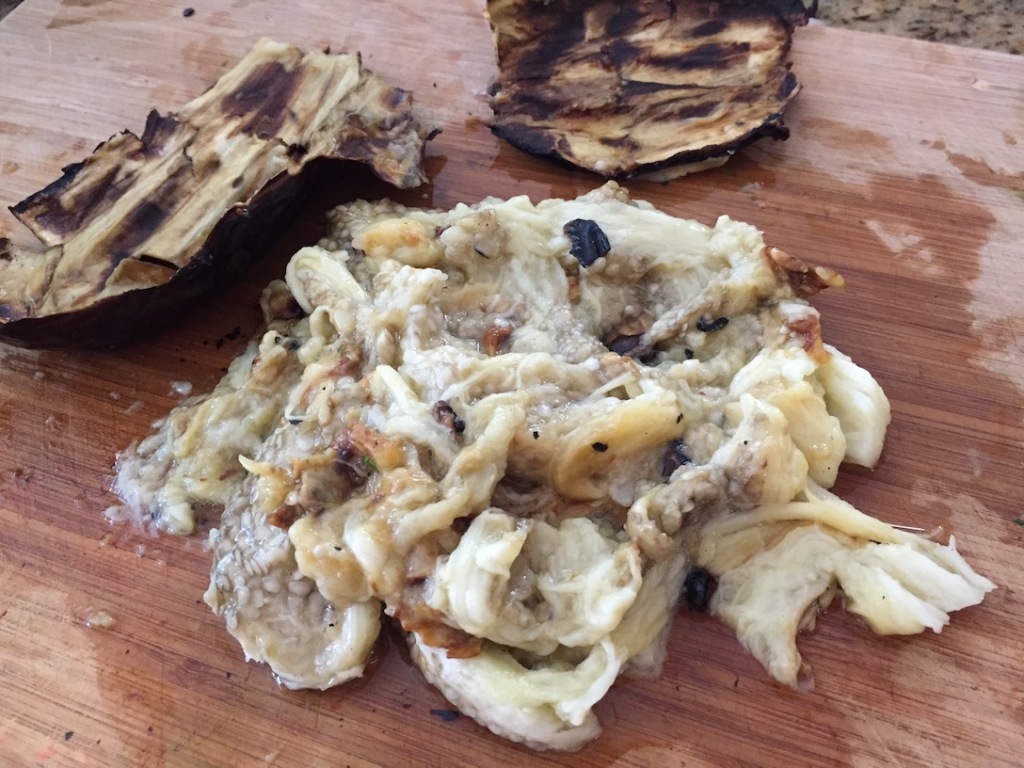
Use the grilled eggplant when it is at room temperature. Scoop the meat out of the skin onto a cutting board and chop very thinly to a puree consistency.

In a bowl, mix the eggplant puree with the tahini, crushed garlic, lemon juice, salt and ¼ cup water. If the spread is too thick, add a little bit more water and mix well.

I like to add chopped parsley to my Baba Ganoush, for additional brightness.